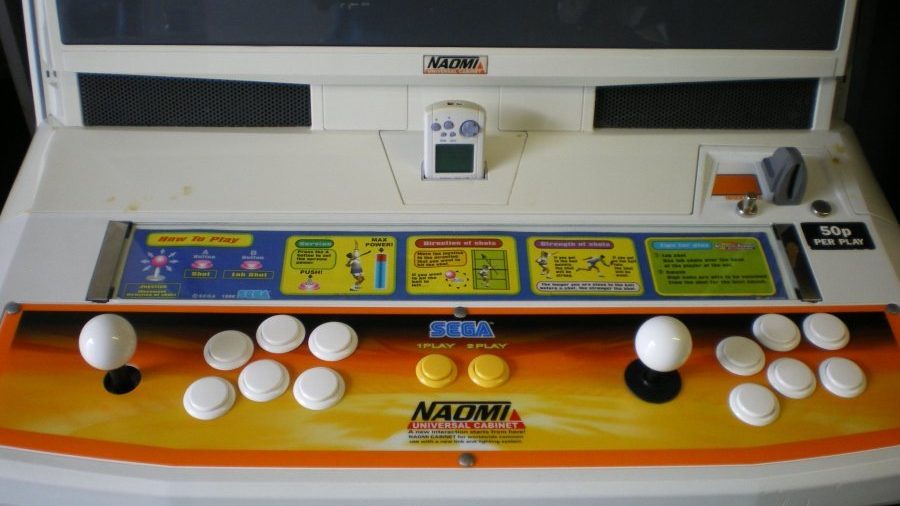
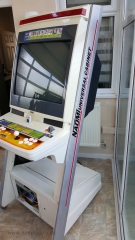
Restoration project of a Virtua Tennis Sega Naomi Universal cabinet. Upgrading the control panel and other repairs.
Naomi Universal cabinet
How long have you had a project on the go without really finishing? I’ve had this one for about 7 years. Its been through a home move and been put aside many times, but now I’ll call it finished.
Back in 2010 I wanted to find a Sega Naomi cabinet to go with my other arcade units. Naomi have a huge game library, most playable on joystick without needing changes to the base cabinet. Naomi is easy to expand from the standard cartridges to the GD-Rom setup or Netbooting.
Cleaning the cabinet
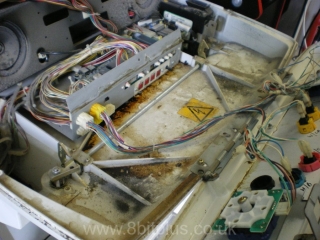
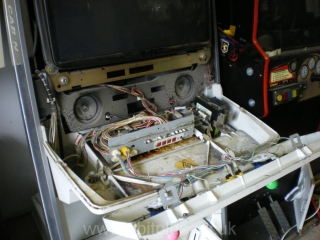
I found a Naomi Universal Cabinet at a local arcade re-seller. It had a good monitor and was more or less complete to look at. I wanted it to be a project to tinker with. When I got her home and opened up the control panel, I found that someone had spilled a jumbo Coke in the top section. I bet they had it sat on the controls and knocked it over! Over the years it set into a sticky tar like substance YUK!
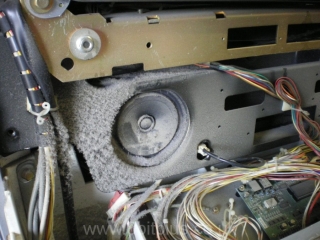
My first job was going to be cleaning everything up. Lots of dust and muck had accumulated over the years, but that’s to be expected.
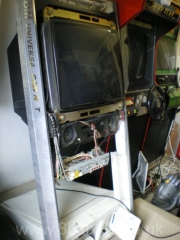
I started by removing the control panel and screen bezel. I photographed everything to help rebuilding later
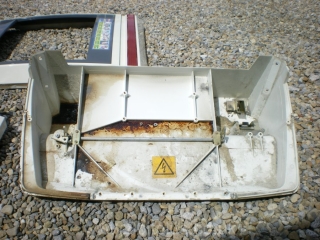
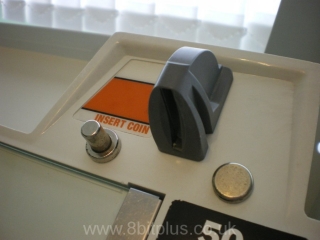
When I got the lower part of the control panel out I found the Coke had pooled in the bottom container.
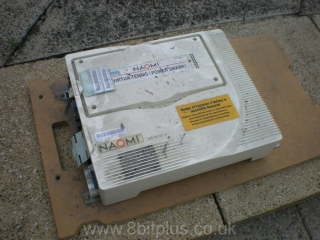
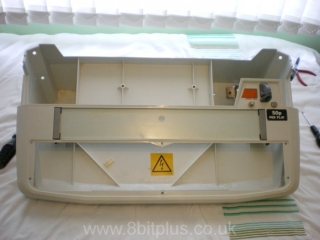
I then stripped out all the metal parts for the latch mechanism and washed the plastic in hot soapy water. Then I coated everything with a diluted oven cleaner spray and washed again. I sat it outside and used a hosepipe for most of this work.
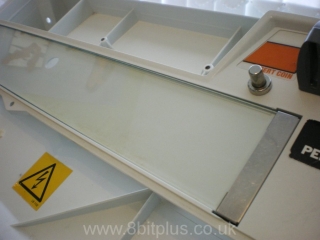
In the end it looked almost as good as new. The top section of the panel wasn’t so bad and cleaned up quickly with cleaning sprays.
New Controls and Overlays
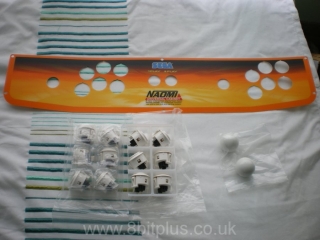
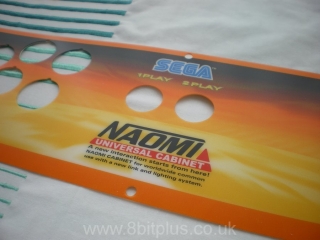
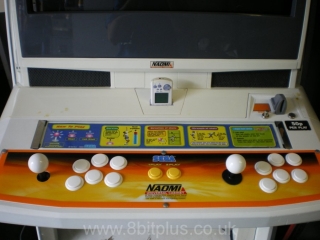
The first real changes I made were to the control panel. My cabinet was setup for Virtua Tennis, and so only needed 2 buttons per player. The fighting games I wanted to play on the Naomi would need 6 per player. At first I thought I could drill out the extra holes, but I found it better to replace the panel with a new one from Giz10p.co.uk.
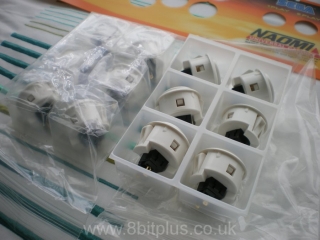
I also purchased a matching Naomi Universal overlay, a full set of white buttons, new micro switches and new joystick ball tops. The joysticks cleaned up very well and didn’t need replacing.
When fully assembles, the results were amazing.
Dreamcast Modification
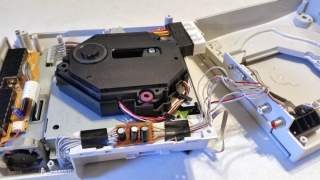
The next thing I did was to modify the Naomi universal cabinet to allow me to attach a Dreamcast.
You can find my full Dreamcast to Naomi project here
I made it easy to switch between Naomi and Dreamcast, depending on what I wanted to play.
Netboot Modification
Years later when I had time to go back to this project I learned about Netbooting. This allows you to upload a game image (ROMs) into a special cartridge called a NetDimm. Game files are run from memory like a cartridge. Any Naomi game can be loaded with Netboot.
You can find my Aritcle on Netbooting Here
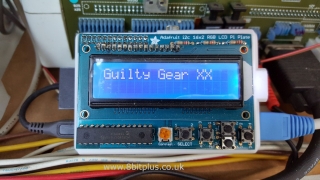
One I had this process working I built a Raspberry Pi to upload the games without the need for a PC or laptop. It even has a LCD screen and buttons to select the game to upload.
You can find my Netboot Pi project here
Side Covers
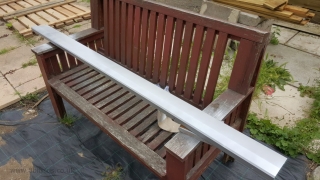
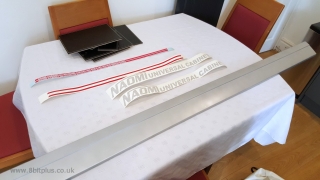
The latest improvement I made was to fully renovate the metal side panels. Almost all original lettering was missing or scuffed due to cabinet movements over time. Luckily I know someone who has access to sandblasting equipment.
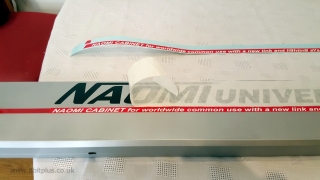
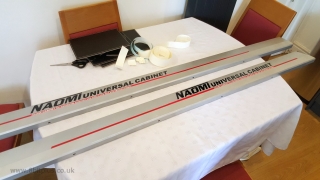
When I got both panels back they were stripped down to the bare aluminium, and coated with primer ready for painting. I used silver spray paint suited to aluminium, and coated with automotive lacquer when dried.
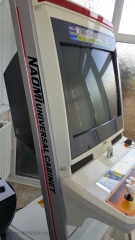
I found the replacement reproduction lettering on eBay. Installing was easy, but patience was needed because I only had one copy of the lettering and couldn’t have another go if I placed something in the wrong place. I referred to photos online for this stage.
Finished
Well for now I think its finished and looking great.
I’m sure in time I’ll think of some other modifications for this cabinet. Like adding a Jamma loom to play CPS2 games, but for now its done.
If you liked this restoration, please take a look at my Sega Scud Race cabinet restoration.
Thanks for reading.
Any question or comments please ask below.
8bitplus 2017
Recent Comments