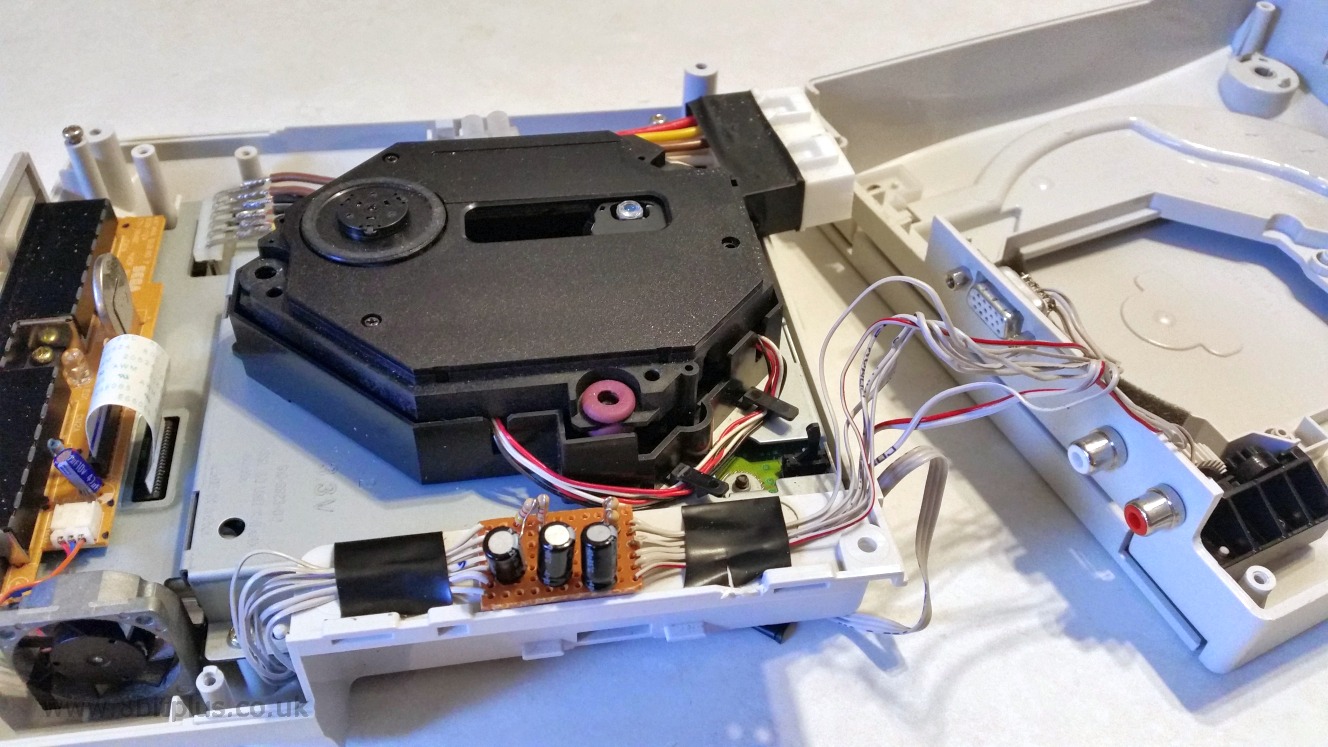
Converting a Dreamcast for use in a Sega Naomi arcade cabinet. Project covers connectors and modifications to the console and universal JVS cabinet.
Dreamcast Arcade.
Sega managed to convert many of their arcade games of the time to the home system almost perfectly. Having almost identical hardware was a smart move . As a result a great deal of the Dreamcast game library consists of arcade games from Sega and other third party developers, like Capsom, SNK and Namco.
the Naomi arcade cabinets like mine are very popular with collectors for home use, but the original games on cartridges can be expensive and hard to locate compared to the Dreamcast Release. Also the Naomi GD systems are less reliable and slower to load than the Dreamcast GD-Rom. The Dreamcat also has the ability to read “backup” copies of your games.
What I wanted to do was modify a Dreamcast to work as a plug and play replacement to the Naomi board in my cabinet, but still be able to re-install the Naomi board to play original games.
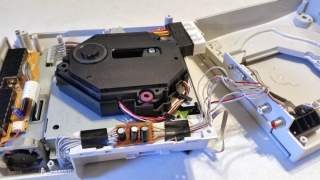
Power Connections
the first thing I needed to do was workout the power connections. Luckily the Naomi cabinet PSU outputs everything we need to the JTS connectors: 12v, 5v, and 3.3v
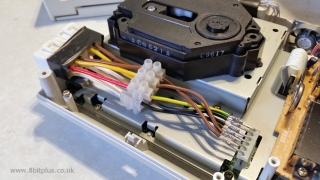
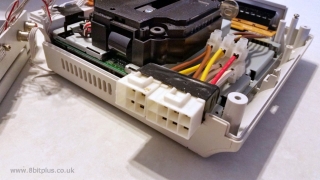
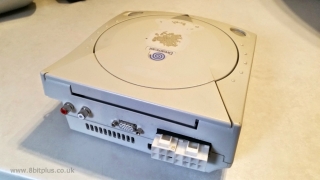
All that’s needed is removal of the Dreamcast internal PSU then linking directly to the cabinet PSU. To do this I purchased a set of JVS power extension leads from Giz10p. I then cut down the female socket end and soldered to the corresponding connectors in the Dreamcast.
Video VGA + Audio
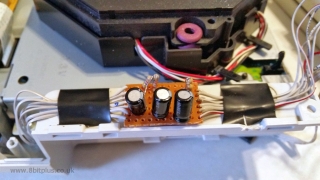
The next thing that’s needed is to build a VGA output adapter inside the Dreamcast. Most aftermarket VGA “boxes” are to large to fit inside the console case, but a small circuit can be built quite easily.
The VGA circuit is based on the design by mmmonkey
When this was built and installed, I cut holes in the back of the case for the VGA and also for Audio connections. The RGB-VGA switch was left inside and set to VGA. There’s no point in placing the switch on the case as the DC will never be used with a TV again.
Controllers
This was the hardest thing to modify. The Naomi system system uses a special board called JVS to act as an input controller, and that would be linked to the Naomi by USB. The Dreamcast uses a system called Maple and is therefore not directly compatible. It works much the same, but all the Dreamcast games are programmed to work with Maple and not JVS.
What I had to do was wire all the input buttons to the Dreamcast controllers and still have a quick way of switching back to the Naomi JVS. This means needing to switch 24 connections.
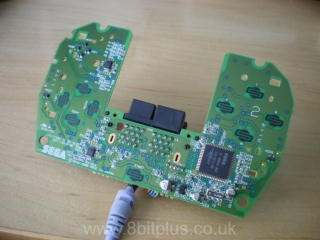
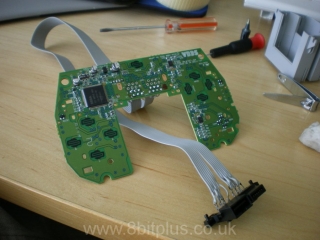
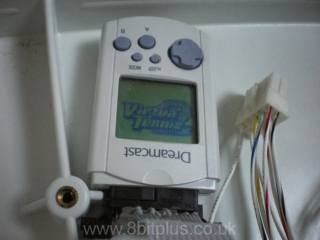
Next I dismantled the controllers and removed the VMU connectors leaving only the PCB’s. The VMU port was extended with ribbon cable.
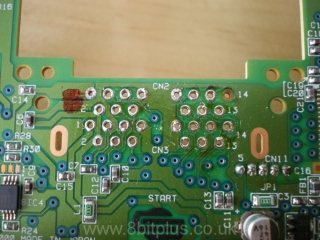
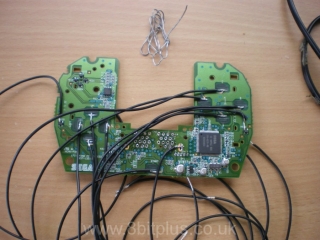
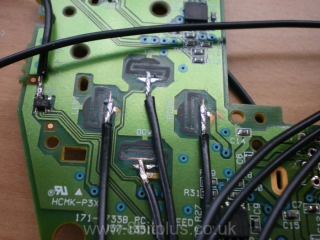
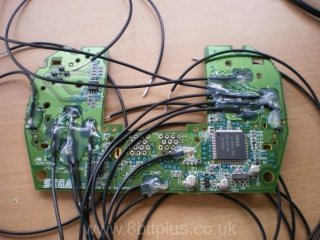
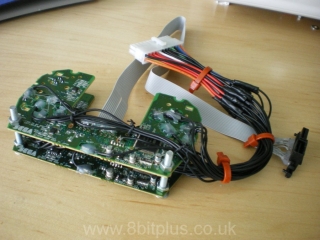
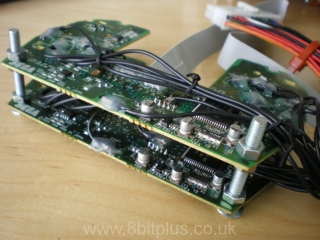
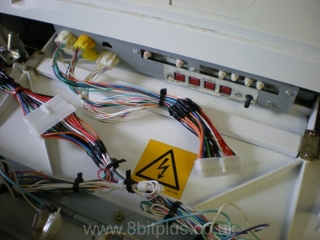
For each direction and action button, I soldered a wire and linked to a PC ATX (24pin) connector. I used an IDE cable to wire in a VMU socket. after all the soldering was done I covered all the points with hot glue to keep things still and reduce movement at the solder point.
As you can see I have both PCBs wired to the connector and VMU cable. The controller cable (back to the console) was reconnected to the PCB’s and run down the inside of the cabinet to the console below.
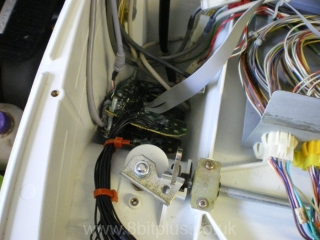
The controller PCBs sit nicely in the control deck at the side.
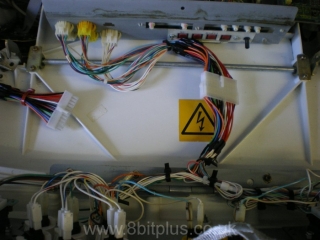
In the Naomi control panel I wired the buttons and joystick to the same connectors, and also to the JVS connectors
Now I can switch between Dreamcast and JVS in a few seconds.
VMU
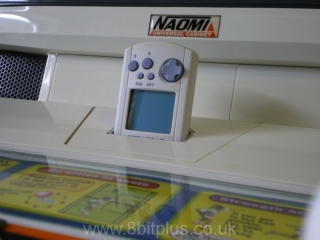
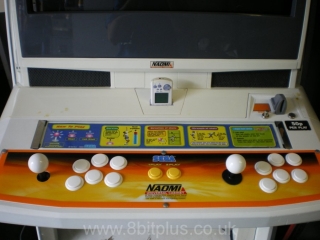
To finish things off I cut a hole for the VMU in the CGS lid. Mine was already damaged and cigarette burned so it was no loss to cut.
Here’s a video of it all working. Thanks for reading. 8bitplus 2015.
Hi, great article! Since I owe both, Naomi cab and Dreamcast I decided to do this conversion. I started some preparations and just wanted to mention that the process might become more hassle free if one uses Dreamcast to VGA cable (with built-in converter) from Ali, and replaces the original PSU with DreamPSU (also Ali). This way we get clean 12V input that way on the back of your DC. It’s cheap, no soldering/drilling required (even though I have absolutely nothing against it :)) + untouched Dreamcast housing can be converted back to it’s original state anytime in future.
Now I am only looking for a pair of cheap (preferably “broken”) controllers to be able to complete my mod.
hi,
congratulations for your work – the cab looks amazing!!
just a little questions – do the original sega dreamcast light gun work on the crt monitor? i’m intrestet to do convert my naomi cab to a dreamcast cab too and play on it the house of the dead 2. 🙂
thanks and best regards, phil
I think they should work on a CRT VGA monitor just fine.
Hello. I would need the mod for 2 dreamcast controller . I have your same dashboard naomi universal .
You have the possibility of paying create a 2 player , but preserving the original connectors ?
thanks I await your info.
Hi. My controller mod is 2 players. And the original connection is still there too the Dreamcast.
I wonder if instead of the controllers PCBs can you use the PCBs from Agetec Dreamcast Arcade Sticks?
Yes, you could.
Only thing is that the arcade sticks for the DC are too good to waste 🙂
Considering picking up a Naomi cab but I want to run jamma games on it. Is it an easy process to convert it.
Not too hard I think.
You need a RGB to VGA converter to upsync the video, and a audio to line converter too.