Game Details
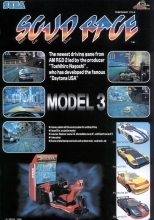
Scud Race, or Sega Super GT as it was known in the US is a racing game from Sega’s AM2 arcade division. The same people who also created Daytona USA. It was developed partly as a test of new direction for the Daytona series, and partly as a racing test-bed for the Model 3 platform. The model 3 (step 1.5) is powered by a 100mhz PPC 603, 8mb Ram and graphics by Real3d.
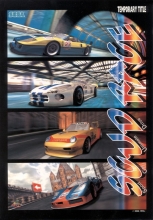
Scud Race features four licensed and very well modeled cars and four very different and contrasting tracks. It plays very much like a combination of the later Daytona games with a hint of Outrun in that the emphasis is on finding the right corners to enter a high speed drift.
Unlike the First Daytona you have deeper control of the throttle while drifting which adds more depth to the challenge.
All the graphics in Scud Race are very polished and still hold up well today. The full range of Model 3 affects can be seen from anti-analyzed edges to camera lens glare, reflective surfaces, sparks and smoke. The music and sound effects are fantastic as well.
Its a real shame Sega did not port Scud Race to the Dreamcast as a launch title, or even to the Xbox 360. I could really see this as a hit today for download with online multiplayer support. It seems like a missed chance and would probably sold very well.
My Scud Race arcade machine
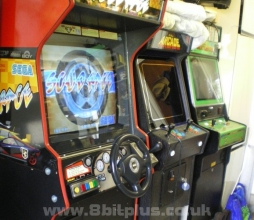
After owning a Sega Rally upright arcade for some time I was pleased to find out that Scud Race was also available in the same cabinet type. I have a row of three arcade machines in the garage and unfortunately there’s no room for bulky “sit down” types. The Upright or Stand-up machines take up much less room and are often cheaper.
The cabinet features belt driven force feedback, twin amplifier stereo sound system and a 29″ Nanao CRT monitor.
I believe Sega Rally 2 can also be installed in the Scud Race cabinet as it was released in stand-up format as well.
Steering and Gear shift
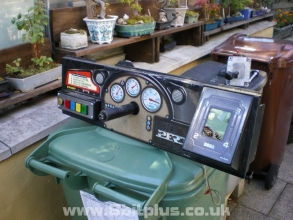
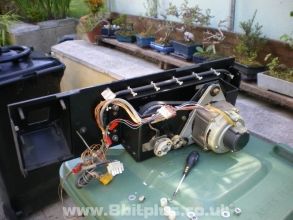
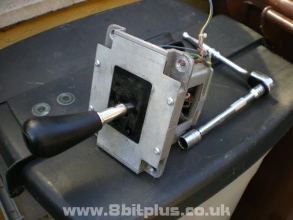
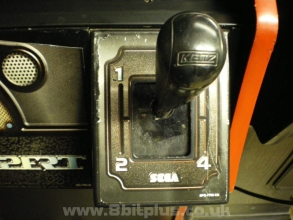
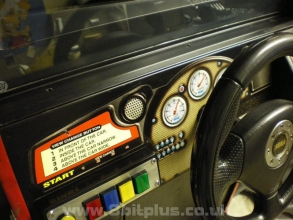
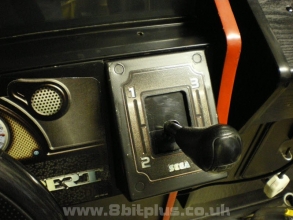
Now the fun started fixing up all the little problems. The first fundamentally important things to fix up were the controls. The steering was very far off center. Making selecting options in the menu hard and spoiling the feel of driving straight. Also the gear shifter was very slack and would actually fall out of 1st and 3rd gear if you didn’t keep your hand on the stick. I was supplied with a replacement gear shift when I got the cab. Installing and repairing required the steering required removal of the control panel.
The whole panel is held in by four bolts and is fairly heavy. This is because its mostly made from metal and contains the heavy duty 24v motor for the feedback system (more on that later). The shiftier is also bolted on and easy to remove. The new one was a direct replacement and was easy to fit. Although it was missing its ground wire which I used from the old one.
The steering took a little longer to get right. In the end it was just a matter of adjusting the position of the steering potentiometer. This is done by removing the cog, then setting the steering wheel to center and reattach the white cog.
Force Feedback system
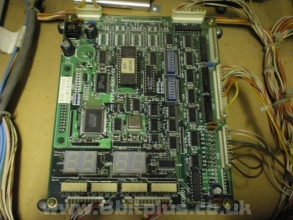
The force feedback system was not functioning on this system when I got it. Its not essential to the running of the cab but the game did feel wrong as a result. Also the steering column has no spring assisted centering mechanism like Sega Rally did. Instead the motor system would pull the wheel back round. A faulty drive board was probably the problem. After sending a few emails around I managed to track down a replacement unit (with help from AGS) on eBay. As soon as it was installed and powered on the feedback system came back to life.
Cleaning
The next thing I did was to clean the machine inside and out. All the sides and the top were very dirty. I used soapy water and a cloth to get through most of it, then a spray called Minute Clean to finish.
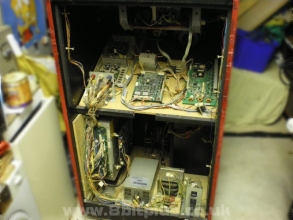
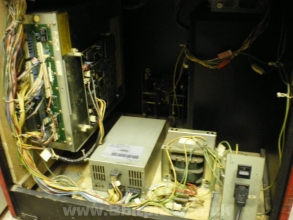
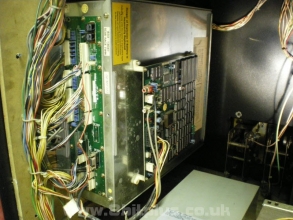
For the inside I used a vacuum to set all the dirt, dust and arachnids that had set up home in the cab over the years. The PCBs just needed a light dusting with air duster with the vacuum to catch the dust. The inside of the cab wasn’t as bad as my Sega Rally machine. I put this down to Scud having a fan cooling system that Rally didn’t have, so consequently less dust settled.
Button Panel
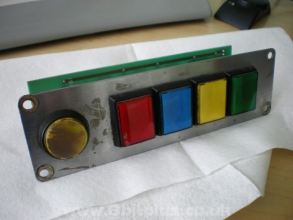
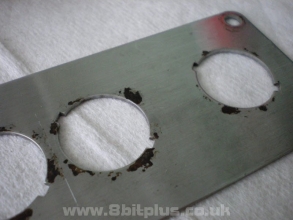
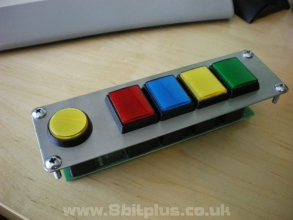
This poor thing looks like its had a hard life. Luckily it was almost all down to surface dirt. The dirt was almost like dry mud or clay, as I didn’t find this anywhere else on the machine. I can only guess that the button unit was swapped with another one at some point by the arcade operator. Its was just a matter of dismantle and clean. Damp had got inside the buttons a they eliminated much nicer when cleaned out. The stainless steel panel had a bit of rust under the screws and buttons, this cleaned up a treat with a bit of wet and dry sand paper.
CPO Vinyl tidying up
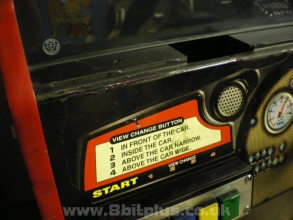
The top edge of the Scud Race control panel overlay had cracked and split with age, then had begun to peel off thanks to people as well I guess. I had a look into getting a replacement overlay, but this turns out to be almost impossible. My only option was to make the most of what was left. I made the decision to trim back all the rough edges with a knife. The result was not bad at all.
Before
After
Peddles and lower cabinet
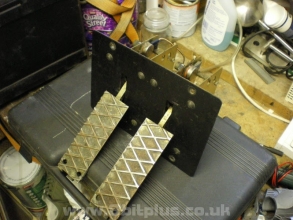
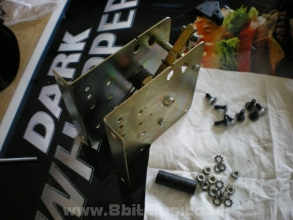
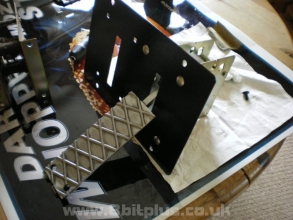
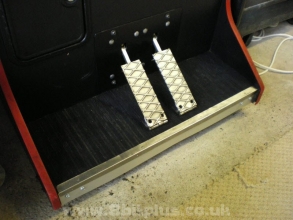
This was big job. The peddles were dusty, grimy and thoroughly in need of attention. To remove the peddle unit I needed to remove the hinge pin from the peddles then unbolt the metal plate from the cab. When I had the unit free I dismantled and cleaned each component.
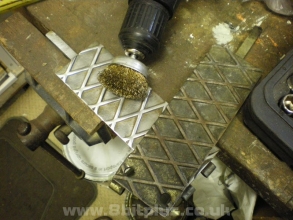
The peddles were very discolored and worn looking. An effective solution was to polish them with a wire-brush drill attachment. This worked like a charm, the difference was outstanding. I also finished them off with a thick coat of automotive lacquer.
I cleaned every part of the peddle assembly in hot water. Using detergent to remove all the old oil and grease from the moving parts. Even the springs came out looking like new. I hand dried each part and started putting it back together. I gave all the moving parts a good coating in white grease.
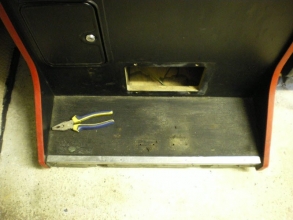
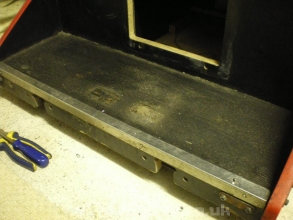
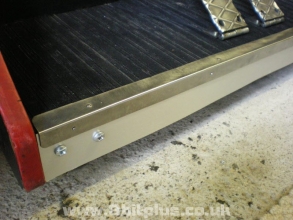
The rubber mat was replaced and the metal edging strip was polished up with the same wire brush method. The black kick plate was cleaned and then sprayed with the clear lacquer spray. As a finishing touch I found a metal effect card strip to cover the front edge.
T-Molding
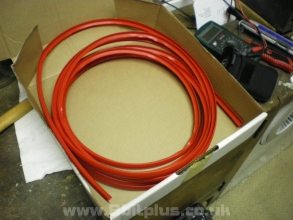
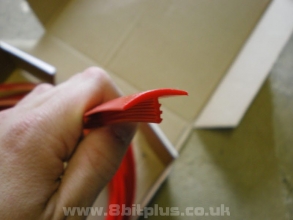
T-Molding is coloured plastic strips that cover the edges of the arcade machine cabinet. The T-Molding was in a very rough state, its quite a soft plastic over time takes a lot damage from moving and bumping the cab. I found a place on eBay selling sets in various lengths and colours so I got some ordered.
Installing was a bit harder than it should have been. The problem was that this game used a wider routed groove for its T-Molding than the standard width. The difference was only a couple of millimeters but that was enough for the new molding to not press in firmly.
This problem was solved by applying a generous amount of hot glue into the groove and applying pressure to the molding until the glue sets. This was done in sections of about 8″ at a time.
Vinyl
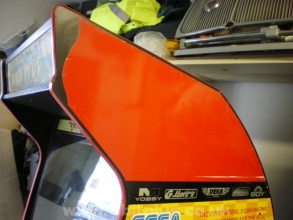
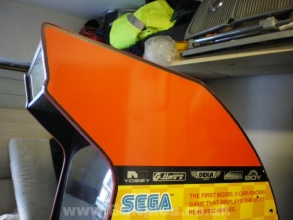
The side vinyl had some viable damage and scratches. Lucky most of the damage was located near the top section on each side. This area was a solid red colour with no detail or artwork and was easy to replace.
I found plenty of places on eBay that sell colored sticky-backed vinyl’s by the meter (also called sticky-back plastic). When the sheets arrived I was pleased to see it was a very close match to the original. I cut a line just above the black strip then peeled the old vinyl off from there. New sheet was then roughly cut to size and applied, I measured a 1 cm boarder and cut by hand.
unfortunately the Hunt for a complete side-art replacement proved as useless as replacing the control panel overlays. Apparently the only replacement art-work parts obtainable is for the sit-down versions on the game and not suitable to my unit.
More Fixes
There was plenty of other little things to fix up or replace, here are a few:
- Cooling fan noise. The main cooling fan (115v AC) required cleaning. Removed and cleaned.
- No locks: Installed matching barrel locks to the service door, coin collection door and the rear service door.
- Random static on screen. I installed an extra earth wire in the cab running between all the controls, metal parts, monitor chassis and back to the PSU earth point. Almost all static eliminated.
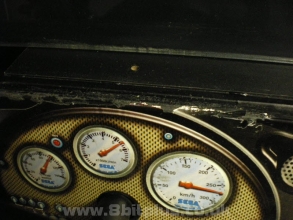
- Screen adjustments: I adjusted the brightness and contrast settings a bit. Also I then relocated the screen adjustment panel to the correct position under the plastic monitor surround.
Future..
Well… in conclusion I think my Scud Race cab is finally as I want it now. If there is anything more to do later I’ll post updates, also more photos when I take them. For now I can just enjoy another fantastic Sega racing game.
Thanks for looking, If you have any questions please use the comment system. Neil – 8bitplus 2010.

alright mate i don’t suppose you know where i can get the rom set for scud or scud plus? i have a twin unit one running plus and one just scud
regards mark
Hi. I’m not sure where it purchase them, but if the data can fit on a compatible eprom chip you might be able to copy your plus rom chips and burn another set for your other cabinet.
Hi neal I still having problems with scud racer I have managed to get a rom read out on the screen and it has no fault showing on the cpu
And the scud race does come on intermittent changed the power supply and it appears all good t
The one thing I have noticed is the steering is not centring when I power the machine up and on the driver board error 22 is displaying on the driver board
Any ideas mate
Thanks
Carl
Hi Carl.
The driver board controls force-feedback and wheel centering on boot, so if its not working the wheel may become misaligned. I had this problem too error 22 or 20. First I ordered a replacement CMOS chip for the driver board from Andy Geezer but I can no longer find the part on his site. This didn’t fix the fault for me anyway so I replaced the board with one from eBay. There are some on eBay now like item 352052095195. They can be expensive though, but should solve your problem. As far as I know the board cannot be fixed.
Hi guys I have a scud race that needs a good home for this collectable machine it has a driver board error,no errors on cpu all good it needs minor tlc to make mint condtion if any interest please contact
Carl
07956815091
Hi neil,
just read your labour of love with scud racer.
Great tips for me as just picked one up last week on ebay.
I need to give mine a clean also!! The music is not working on mine but the sound effects are…any ideas?
Hope you kept your cab.
thanks for posting.
keiran.
Sounds like the music board isn’t working. Its separate to the sound affects. Or perhaps its output is not connected to the amplifiers…