
Neo AES Board Repair
I’ve not had time to really post any updates this year, but heading into summer I thought I should do some posts showing some of the repair and upgrade work I’ve undertaken so far this year.
Starting things off I had a few Unibios and PSIO installs, nothing too exciting. Then I had someone contact me all the way from Canada. He had a New Geo AES that had a failed Unibios installation. He trusted someone to to the install who perhaps didn’t have the right equipment or experience to remove the BIOS cleanly. The console started up but would only display glitchy graphics and random sounds. Definitely not right.
Inspection

| 
| 
|
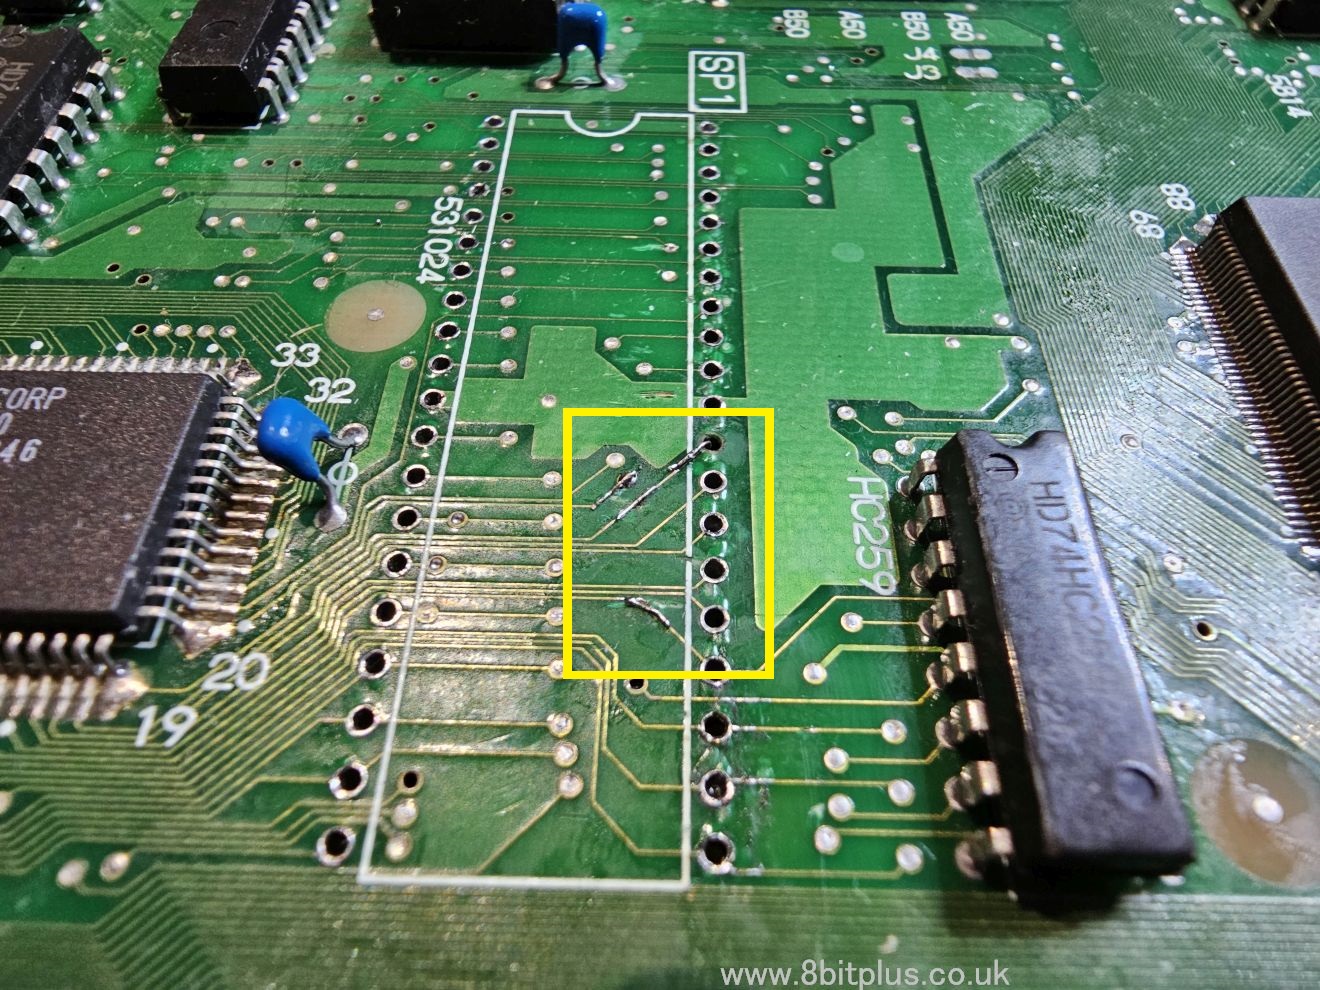
On the top side of the board these was clear signs that the bios chip had been hard to remove. Scratches under the rom area look like someone used a screwdriver to leaver the chip up during removal. This damaged the traces highlighted. On the underside, the vias look to be heat damaged and one was missing altogether. Some traces on the underside needed repairing too.
Repair

| 
| 
|
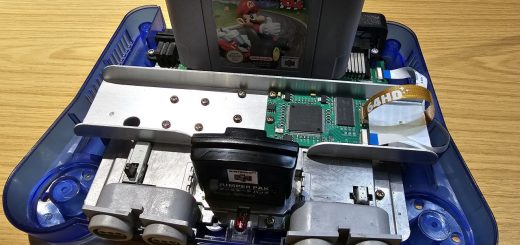
After hours of checking continuity I have repaired the traces located under the bios, and relinked the ones under the board. I then installed standoffs to hold the bios chip so I still had access to the areas that would be covered by a plastic socket. This way I can still check the are if needed. It hold just as well as a socket.
Thankfully this AES was saved and was fully working after the repair. Returned to a happy customer.
If you need a Unibios installing, please contact me. With the Propper equipment the original bios is easy to remove, but for someone boing this for the first time things can go wring and that’s how this unit got damaged.
8bitplus – 2023

Recent Comments