
Project to fix the failing sound and screen issues on my Sega Game Gear. Capacitor replacement with kit from eBay.
Sega Game Gear faulty capacitors
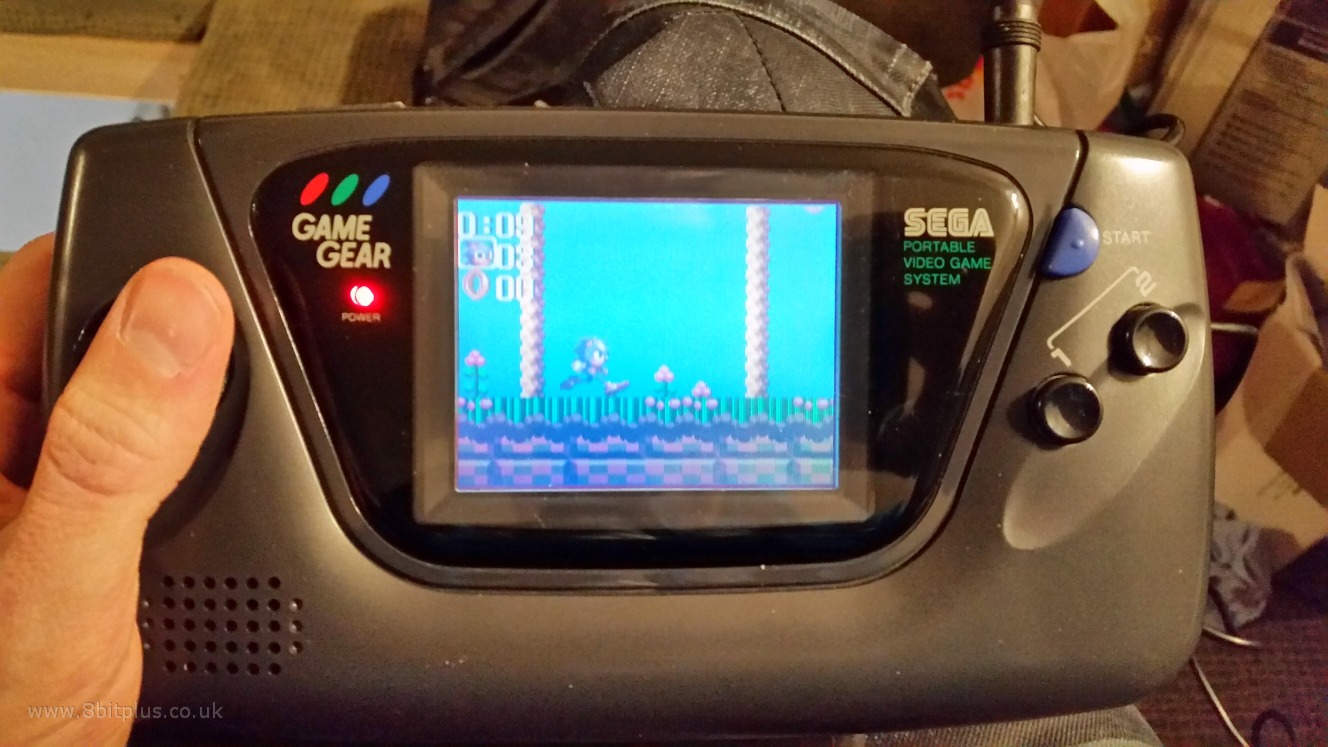
I have a soft spot for the Sega Game Gear. I know it wasn’t as successful as the GameBoy, the screen was a bit blurry, and it went through AA batteries like a V8 goes through fuel, but it was the first game system I ever got. Lots of happy memorys of playing it when on holiday most of all.
During the collection move I managed to locate my original Game Gear, the same one I’ve had since I was about 8 or 9 years old. Still in very good condition, but now almost completely unusable. When powering the Game Gear on, almost no picture can be seen. Sound too was also none existent even on high volume.

|
The cause of this fault is the capacitors.
Apart from symptoms caused, capacitors faults might be easily spotted – LINK
Capacitors from the early 90s were not as reliable as they are today. Some devices from that time have very little problem with them, but others suffered from very bad batches of components and can even have terminal problems with corrosive damage.
Solution
The only solution is removing all capacitors related to the sound and screen systems . Its not worth checking each one and replacing only the visually faulty ones. Its better to replace them all.
Dismantle
I opened my Sega Game Gear up by removing the 6 small screws and the security screw from the back.
Then carefully detached the power and sound cables.

|
Next I removed the soundboard from the rear case.

|
Replace Caps
The cap kit I purchased from eBay contained all the parts and clear guide table for the replacement parts.

|
I proceeded to remove all the caps from the soundboard and clean up any leaked residue with PCB cleaner.
Installing new caps is very straight forward, just form the leads to the correct position, cut to shape, check orientation and solder to the cleaned pads. A good guide on soldering surface mount cap can be found here.

|
Next is the Mainboard. This doesn’t need removing from the top half of the case if your careful not to melt any of the plastic edges with the soldering iron.

|
The Mainboad caps are very easy to remove, just heat up the legs one at a time and carefully lift. As you can see, lots of mess can be left by leaking caps. Just clean with PCB cleaner and a cotton bud/swab.

|
With all the Caps replaced its time to rest, and reassemble.

|
Perfect. Good for another 20+ years service.
In conclusion this is a very easy repair. It just takes quite a bit pf time and patience. Be very careful to use the correct capacitors and double check the orientation (the board often marks – and +). Be aware, one capacitor on the sound board needed to be re-positioned to avoid touching the metal shield in the case lid.
Now I just have to repeat this job for the other Sega Game Gear consoles in my collection.
Thanks for reading.
8bitplus 2015.
If your interested in the Sega Game Gear, then why not take a look at my modified Sega Nomad.
Hi I have two game gears that need fixing have not been used for a few years but we’re working fine before. Do you still do repairs and if you do what is the charge please?
hey can you email me that clear guide? would be insanly helpful
Hello I think my Sega game gear is not working as screen is black.i haven’t been use for over 10 years maybe but left in the box. Just wonder how much if u fix it for me?
Many thanks
What PCB cleaner would you recommend?
I’m currently attempting this on my Game Gears. I’m completely new to soldering and have spent an embarrassing amount of time replacing just two capacitors so far. Other than my (really horrible) technique, I’m struggling with cleaning off the corrosion that’s leaked onto the pads. I’ve gone after it with iso and a toothbrush with minimal results.
Hey so my screen will only let me view at a certain angle and there’s 2 lines on the screen. Can you fix it and if so do you charge money?
Hi. I’m currently not accepting work requests.
How much to fix my game gear mine has sound and visual just some lines down the center of the screen and a faded screen look.
Hi would you be able to fix mine if I sent it to you
Yes. Send me an email.
I have the same problem. Sound is good. First the screen was dark. Now it’s white lines moving around. I can hear I’m changing the menu in the game. Can you advise on how much, complicated, where to get parts..etc
HI! I have a gamegear just bought 2nd hand, that needs to be fixed sound-and screen wise. Power led is going on, some light comes from the screen (seen when you hold in an angle), but no other reaction with (working) game in.
please contact me, cheers from The Netherlands!
Hi. Sounds like a classic capacitor failure. Send me an email and we’ll arrange to fix it but I’m fully booked for work for now so it might take a long time. Neil.