
This page covers dismantling and replacing capacitors in the Sega CDX/Multi-Mega console. Removal of the Power, CPU and CD-Rom board.
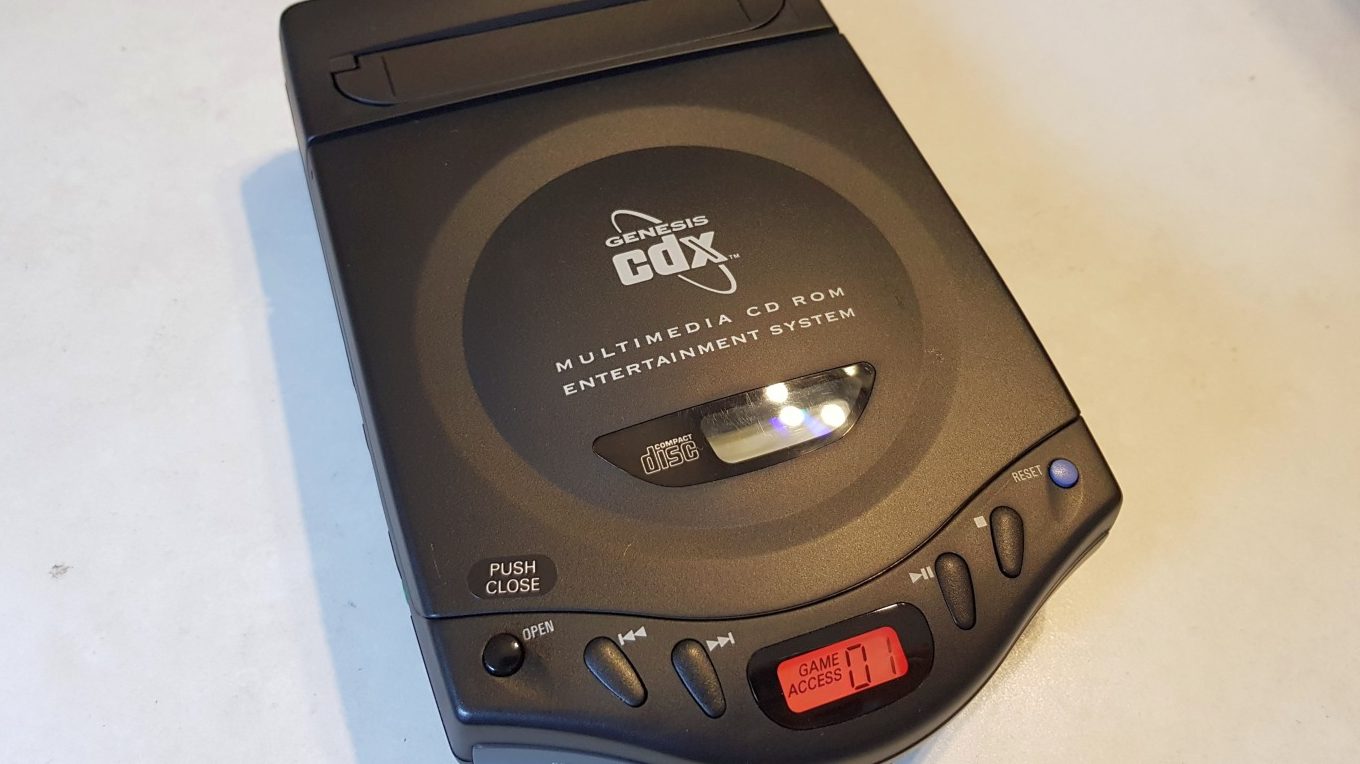
Sega CDX
Sega, being one to never to miss a trick saw a gap in the market to sell another version of the Mega-CD/Sega-CD. The CD-Rom add-on required the owner to already have a Megadrive or Genesis console. Whether you have the original Megadrive or the smaller second generation unit, you needed the expensive CD unit to combine it with. Both units required a large power adapter and interconnecting metal earth shields as well as a stereo mixing cable for older Megadrive’s.
")
|
")
|
Sega decided to launch a combined Megadrive and Mega-CD. Called the Multi-Mega in Europe/Japan and the Sega CDX in North America. The new CDX was a huge reduction in size compared to the Mega-CD combos, needed only one AC adapter and could also be used as a portable CD player when run on AA batteries. It didn’t really bring anything new or exciting to customers who already owned as Sega-CD setup, but for anyone who wanted a more “portable” setup it was quite attractive. In later years the Multi-Mega and Sega CDX have become very sort after with collectors.
Opening The CDX
I was sent this unit to replace the capacitors with new ones. This procedure is common nowadays as aged or faulty caps can lead to problems in old consoles. thankfully most Sega consoles (with exception of the Game Gear) are not generally affected by this. Although changing now should help this Sega CDX live another 25 years or more.
")
|
")
|
")
|
The first challenge it to open it up. On the underside of the console first remove the 4 large screws, and 1 smaller screw from each side and the back. The black metal base can be removed easily. Now we can see the underside of the main CPU board is covered my a large sticky backed copper foil. To remove the foil, desolder the 3 connecting points and peel back. Place this somewhere safe and clean for now.
Now we have the exposed underside of the main CPU and power board exposed. Next more screws and solder points need removing before we can detach the CPU board from the CD-Rom board.

|
")
|
Now the motherboard is free from the Sega-CD components. It can actually be connected and play Genesis games perfectly well at this stage. Handy for testing.
Now to remove the CD-Rom controller board and optical drive unit. This board is covered and held in place with another aluminium shield. Remove the 8 screws and gently lift off. The CD-Rom mechanism is only lightly held in place so extra care is needed when handling this part. It connects with a ribbon cable and 3 plug connectors.
")
|
")
|
")
|
Re-Cap work
")
|
I’m installing new Panasonic capacitors in this console. They are slightly larger than the originals, and in such a small console planning is required to make sure everything still fits. Luckily there was room for larger caps where the power board sits.

|
With the CPU and Power board done, its time to look at the CD-Rom board. The CD controller board contains the vast majority of the capacitors in this console. All of them are “through hole” type.
")
|
")
|
")
|
As I already mentioned, the Panasonic caps are larger than the originals and planning is needed when placing them when installing due to space restrictions. Some will have room to stand, others near the CD playback control switches need laying flat. I also found an area the had required some factory rework. This is right below the main power capacitors and therefore makes things a little more tricky to work around. The red wire is actually attached to a capacitor I wanted to remove. Its always wise to take plenty of photos to make sure things go back in the right place.
Finished and Testing
Reassembling is very easy when you know how it was taken apart, just reverse the process. Remember to solder together the copper foils sheets and attach the earth wires.

|
I then tested the console with my Everdrive cartridge, and played some CD games for at least an hour to check things are still working correctly. Then I finished off by listening to the Sonic CD soundtrack.
Finished and ready to return to the customer.
Please contact me if you have any consoles in need of repair or servicing.
8btplus 2017
Capkits at Console5
Select yourself components from BitsBox and Rapid Electronics
Hello,
Are any of the capacitors SMD?
Thank you.
No
Esta placa de retrabalho feito de fabrica, no sega cdx..qual a função dela…
Hello there everybody my Lazer has gone on my Sega multimega and I’m trying to get a new one how hard is it to come by one a couple of retro game refarbish site’s don’t have the part’s and say they are hard to come by could you please help me with any recommendations for site’s that might be able to get a new Lazer thanks for Daniel battersby
Hi mate. When I was woking on these consoles a couple of years ago, getting the lasers wasn’t that hard. The problem that you need to go to aliexpress and the like. Getting good ones is the hard part.
Also once a new laser is installed it needs tuning to work correctly. This can take a very long time to get it Woking in tollreance. Neil.
Hello
I have a CDX and it has been constantly resetting. I sent it for repairs and it has had its caps replaced. I’m also using the correct power adapter although it’s not an original and it’s still resetting. I’m beginning to think it’s something to do with the power button possibly a weak spring as the slightest touch to the power button will make it reset….also the open lid and reset buttons stick. If you could contact me via email id appreciate it. Cheers
The same happens with mine, I thought it would be the caps but now I’m not too sure. Could it be the power button?
Just a small question. Can the cd drive be replaced with a newer one that would spin faster and then reduce loading times?
Love the idea. Sega should have made it 4x speed, but most from consoles all the way to Saturn and playstation were 2x speed or less.
If the drive could go faster the system would need faster controllers to read the data stream, faster ram to store the data. All this adds cost that wasn’t needed. Anyway mega CD loads faster than some consoles like the NEO GEO CD. thanks. Neil
I’ve had my CDX since 2011 (with the official power supply) and I’m having huge problems, like where the games will not play audio, but you’ll hear the sound effects or sometimes the dialog will start skipping and then the screen turns black. I’m absolutely bad and paranoid at repairing consoles. I wish I could send you mine and repair it for me for a fair labor fee.
Hi. Send me an email and we can discuss a repair.
Salut,
Propose tu toujours les reparation de multi mega ?
Jai la partie megadrive qui fonctionne excepté le son qui ne sors que par la sortie audio. Mais le lecteur cd ne se lance pas. J’ai changé la lentille sans plus de succès. La lentille a l’air de fonctionner mais le cd ne tourne jamais. Juste un mini à coup sur off.
Merci
David
Hi David.
Does the Mega-CD logo screen appear with no cartridge inserted?
This could be a BIOS problem although I have tried to fix units with similar problems and has no luck.
Sorry I don’t think I’ll be able to offer a repair for this unit until the service manuals become available online.
Neil.