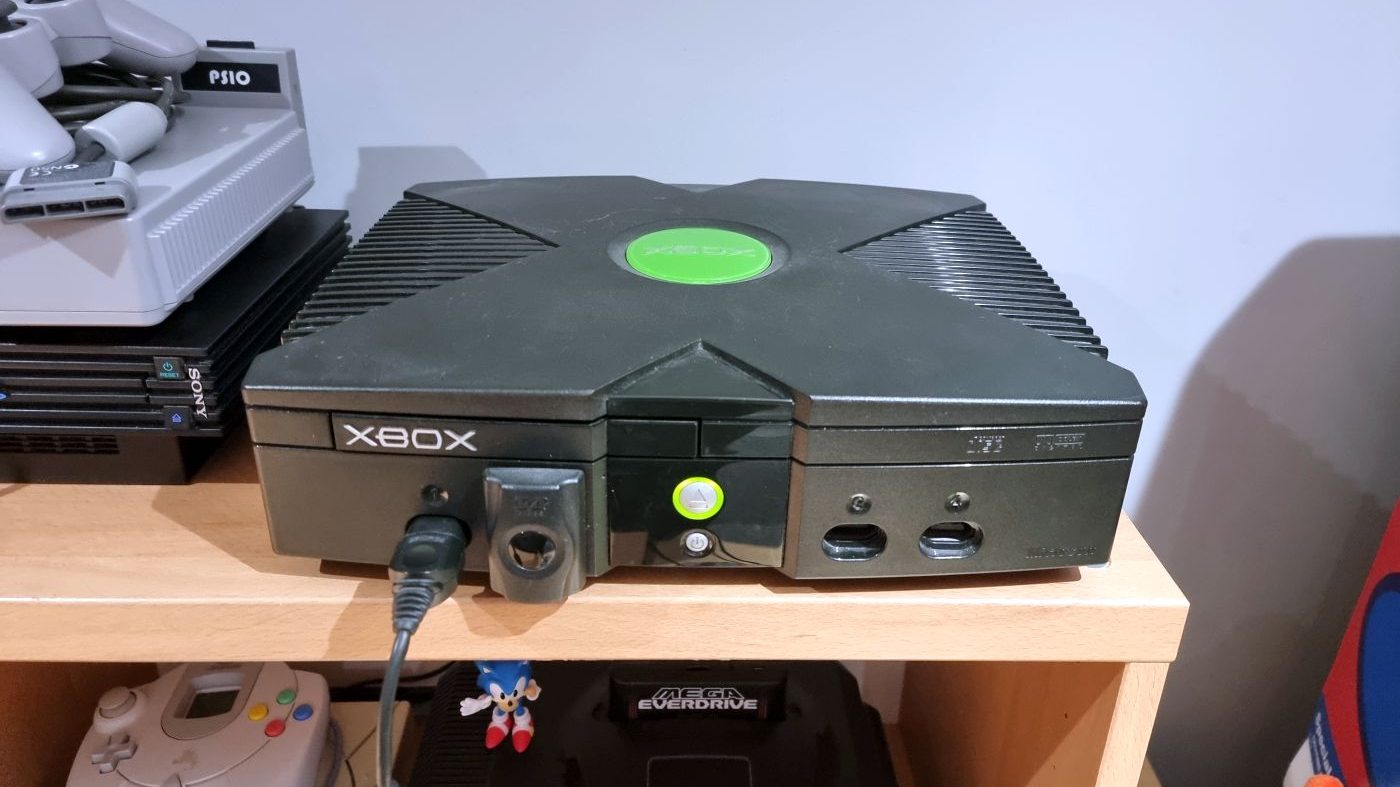
modifying a stock Xbox in 2022 with modchip and 1tb hard drive. Installing XBMC4Xbox and transferring games
Recently I was having nostalgic flashbacks to the 00’s, when the Microsoft Xbox was the core of my gaming and media playing enjoyment.
Its hard to think of anything as versatile at the time as the original (OG) X-Box. It was the Raspberry Pi of its day. Ok, I know the raspberry Pi is far more powerful now, but at the time having a modded Xbox with its 733Mhz CPU and 64mb RAM was fantastic. With a modchip installed it opened up a world of homebrew, apps, emulators and operating systems.
Its x86 architecture made it relatively easy to program for and there were many active contributors to the community that sprang up around the heavy black box during its life. Piracy was also present, but personally that wasn’t a big interest to me. I only had a 256kb broadband connection in those days and downloading an Xbox game would still take a long time. Besides, by the time Xbox 360 was released in late 2005 original Xbox games became very cheap. The ability to copy the game DVD to the hard was very welcome though.
Present Day
Now in 2022 I decided it was time the original OG Xbox to return to my gaming table.
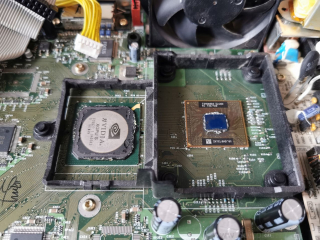
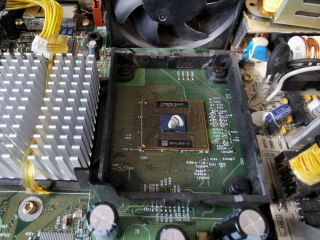
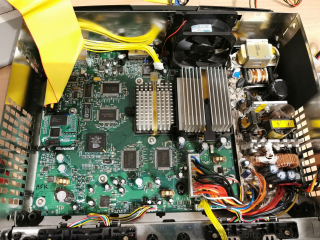
Over the tears I have accumulated a number of spare consoles. So I picked out a very nice revision 1.4 console to start with. Personally I’ve never liked the clear “crystal” units so a base black console is the best choice for me. For starters I opened the console and removed any dust and fluff. The motherboard was in good condition and there was no sign of leakage from the dreaded “clock” capacitor. To be on the safe side Its best to remove the capacitor anyway. At this stage I also removed the heat sinks from the CPU and GPU, and replaced the compound. Everything is working and booting correctly with the original hard drive. This Xbox is ready to start modding, and so am I.
To Softmod or to Hardmod? That is the question
A contended subject with the OG Xbox is the amount of of modding options available. Some people rather use a completely software approach (softmod), where as other people prefer a hardware mod chip solution (hardmod). Lets go over the different options briefly to get unsigned code and custom dashboards working on the Xbox.
Softmod
Using an exploit found in a couple of select game titles, its possible to cause the Xbox to glitch and run code from a custom memory card or USB drive. From here the hard drive can be hacked and custom dashboards installed. Its also possible to upgrade the hard drive too with this solution. The downside is that you will need a working DVD drive, working copied of the exploitable games, and a USB drive converter cable. It also has the down side of not been flexible in changing the hard drive again. Although returning to stock is as simple as reinstalling the original 10Gb HDD.
TSOP Flash
Another option is called TSOP flashing. After successfully softmodding an Xbox, you can then write a custom bios to the TSOP flash chip on the motherboard. This causes the TOSP chip to effectively become a modchip. This is handy for hard drive upgrades and a good fallback for booting DVD-R media also. Returning to stock will require flashing the original bios back to the TSOP though. The flash chip will only be able to hold one BIOS and the size is limited to just one image. Some custom BIOS images might not fit the flash space. A small amount of soldering is needed to unlock the TOPS write capability, but this is an easy mod.
Hardmod with Modchip
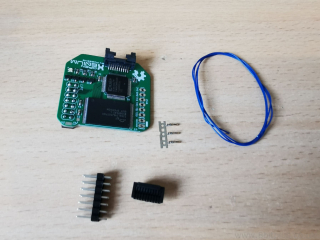
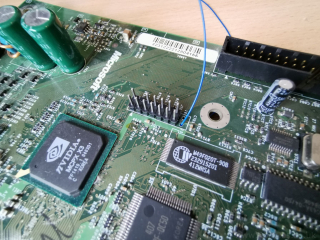
Most revision consoles (except the final rev 1.6) have an unused header port on the motherboard. This can be used for attaching a modchip. This chip bypasses the original bios and often have a boot screen allowing booting the console and gaining FTP access to the file system without any additional software running. Mod chips often also have space for multiple bios images too. The downside is soldering is needed to install the header pins and a jumper wire. if the console has version a 1.6 motherboard this mod is much harder but not impossible.
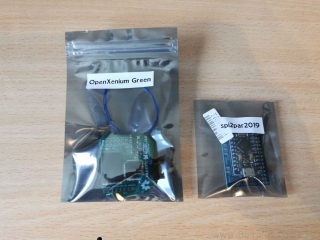
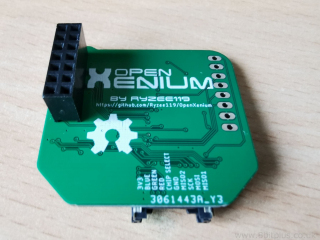
My choice was to go with a full modchip. Specifically the OpenXenium chip. OpenXenium has the full set of features for a modern Xbox mod chip including FTP access, HDD locking/unlocking and multiple bios slots. Back in the day I used a modchip on my Xbox so this was also a nostalgic approach.
The pin header and additional wire was installed in just a few minutes using right tools. Upon booting the console with the eject button I was greeted with the Xenium menu and I then proceeded to flash IND 5004.67 as the primary bios over the network.
Hard Drive
As you may know, the OG Xbox was equipped with a 10Gb IDE 3.5″ hard drive. This was enough to hold an almost unlimited amount of gave game data, and copy a few audio CD’s to the dash, but not much good for storing full size Xbox games that can average 4Gb or more. A much bigger drive is clearly going to be needed to install all my favourite games.
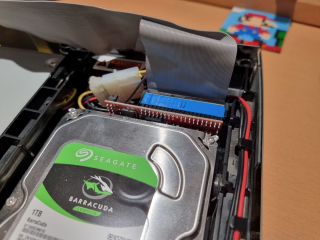
You can still easily find larger IDE hard drives, I have several 320Gb drives, and even a 720Gb IDE Drive. For larger capacity like 1 or 2TB (2Tb is the max for the xbox file system) you will be looking at using a SATA hard drive. Xbox works very well with good quality IDE to SATA adapters such as this one from StarTech. You will also have to replace the 40 wire IDE cable to a 80 wire cable. The adapters often will not work with the 40 wire cables.
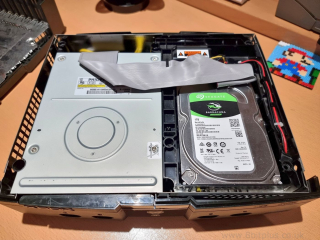
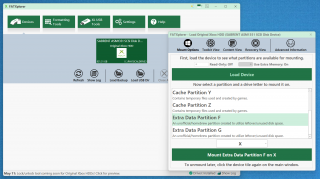
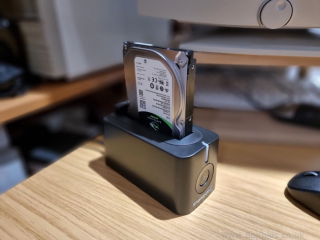
My choice was to use a 1TB 7200RPM Seagate SATA3 HDD, the StarTech SATA adapter and also a new 80 wire 70mc IDE cable. The adapter sites nicely behind the drive and connects to the power lead. Make sure to set the adapter to “cable select” mode. Some cable routing will be needed for the 80 wire IDE cable, but this is easy with the 70cm ones. With the new drive installed I can now partition and setup the console with a DVD copy of TruHexen. You can also use FATXplorer to create partitions on your new hard drive if its connected to your PC, then use TruHexen to copy the dashboard files. Make sure the BIOS you use is compatible with partitions 6 and 7 if using F and G drives.
Dashboard Software
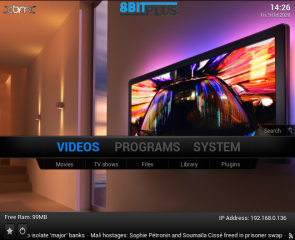
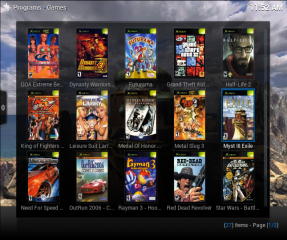
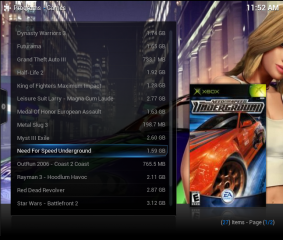
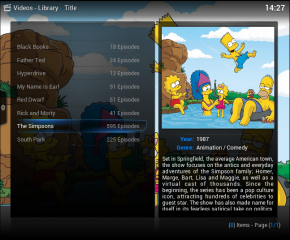
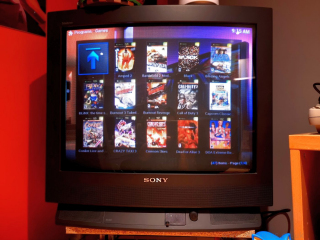
Without hesitation I knew I wanted to use XBMC4XBOX. Its the latest derivative of the original XBMC I used to use back in the late 00’s. Other simple dashboards like EvoX are available, but I also wanted to copy a few OLD TV shows to this Xbox to play on my CRT TV. XBMC4XBOX is prefect for launching games, media files and homebrew like emulators. This program hasn’t been much updated for quite a few years, and may not be developed any further. Aside for this its quite stable and has all the features I could wish for. XBMC4XBOX is included in the TruHexen DVD. Its recommended to install dashboards and programs to the E partition.
Games and file transfers
I had about 30 original boxed Xbox games left in my collection. These can be installed directly from the DVD drive to the hard drive. Although this can take a while, its still a convenient method for some people. For mass transfer of downloaded games I’d recommend using FTP or better yet, actually connecting the hard drive to your PC and use a program like FATxplorer to copy them directly.
FTP usually gets around 10-12 Mbps for larger files. FTP speed is the same for IDE or SATA drives as the network adapter is the limiting factor. When connecting an IDE drive directly to a PC with a USB 2.0 adapter, you can expect transfer speeds of around 40 Mbps making the job 4 times faster than FTP. SATA drives connected to USB3 can give around 120+ Mbps transfer speeds. This is why I selected SATA over IDE, much faster for transferring 500Gb of games. As mentioned, FATxplorer or other software are required when connecting the drive directly to a PC. Without a driver you will not be able to access the FATX file system.
Final results
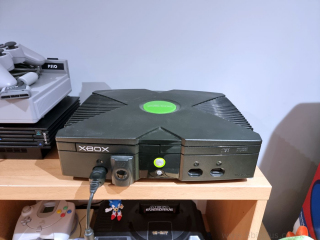
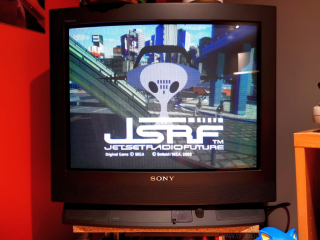
So here is my modded OG Xbox in all its glory. Looking stock from the outside, loading straight to XBMC4XBOX to play hundreds of games, emulators and some good old TV shows. This console sits on my gaming desk along with my other consoles. It works perfectly with the Hydra Scart selector, although I found it necessary to use the official Xbox RGB Scart cable. With other cables the image was very poor, or RGB didn’t work at all unless connected directly to the TV scart socket. New games and roms can be added over FTP. For this function I leave the console connected directly to the LAN.
Xbox is a true testament to community development. From modchips, softmod ability, homebrew and general gaming, the Xbox is still great fun to play around with in 2022. I’ve got a lot of fond memory’s with the original Xbox. I home this page inspires you to play one soon.
Neil – 8Bitplus – 2022
Hey Neil,
Great write up
I recently dug up my old Xbox
After removing that clock capacitor I did a soft mod and have a new hard drive and sata adapter in order.
Have you heard of insignia?
It’s a replacement Xbox live service which is free and run by the Xbox community.
Easy to install. I’ve played a few old games online again and it’s great. I’d recommend you add it to your OG Xbox and see you online!