
Repairing a game gear with no sound and video display issues. Capacitor replacement. Installing a new LCD screen.
I was looking for a controller in my video game store room and found a Sega Game Gear. I own so many of these consoles, some boxed (take a look in my Gallery) and other loose. This one caught my eye as it was in better condition than I remembered when putting it in the storage room. I’ve no idea where I got it, probably at a boot fair before the retro collecting boom.

|

|
Capacitors
After a quick test I realized it wasn’t working. The screen was very dim, and only visible when looking at an extreme angle. No sound could be heard either. These are common signs that the caps have leaked and degraded. In almost all cases I’ve encountered, its easy to repair.
Upon opening the Game Gear I was pleased to see that although my assumption was correct, the board was in very good shape and very clean. I proceeded to remove all the caps from the power and sound boards. When all were removed I cleaned the board with isopropyl to remove any remaining trace of capacitor fluid. Old solder was also removed from the pads before installing the new caps.

|

|

|
With the new caps installed I reassembled and tested the unit. Worked perfectly and with very good volume.

|
New LCD Display
Something I’d been wanting to do for a while was install a new LCD display in a Game Gear. People have been installing replacement displays in these consoles for some time now, and quite a few different kits are available on the market. They can be found easily on eBay or AliExpress. Some can be rather expensive, so I went for a Chinese unit from eBay. The Highlight Touch model. I’d done some research and this kit was supposed to be fairly good.

|

|
The kit arrived in a couple of weeks, and I was ready to dismantle the Game Gear once again. This time I fully removed the main board from the front case and prepared to remove the original display. Some instructions online say to peel the LCD connection off, but I didn’t want to risk damaging the connection pins. I ran the soldering iron along to detach all the connections. After a clean-up the connections looked good and ready for the new display adapter. There was also a long list of other components to remove. The florescent tube, fuses, coil, some resistors and transistors were also removed as per the instructions.

|

|

|
Next the display adapter flex was soldered on place, and the LCD driver board needed a few wires adding to control the LCD menu. I was pleases to see the kit included some fine, pre tinned wires for this, although they were a bit longer than needed.
Testing
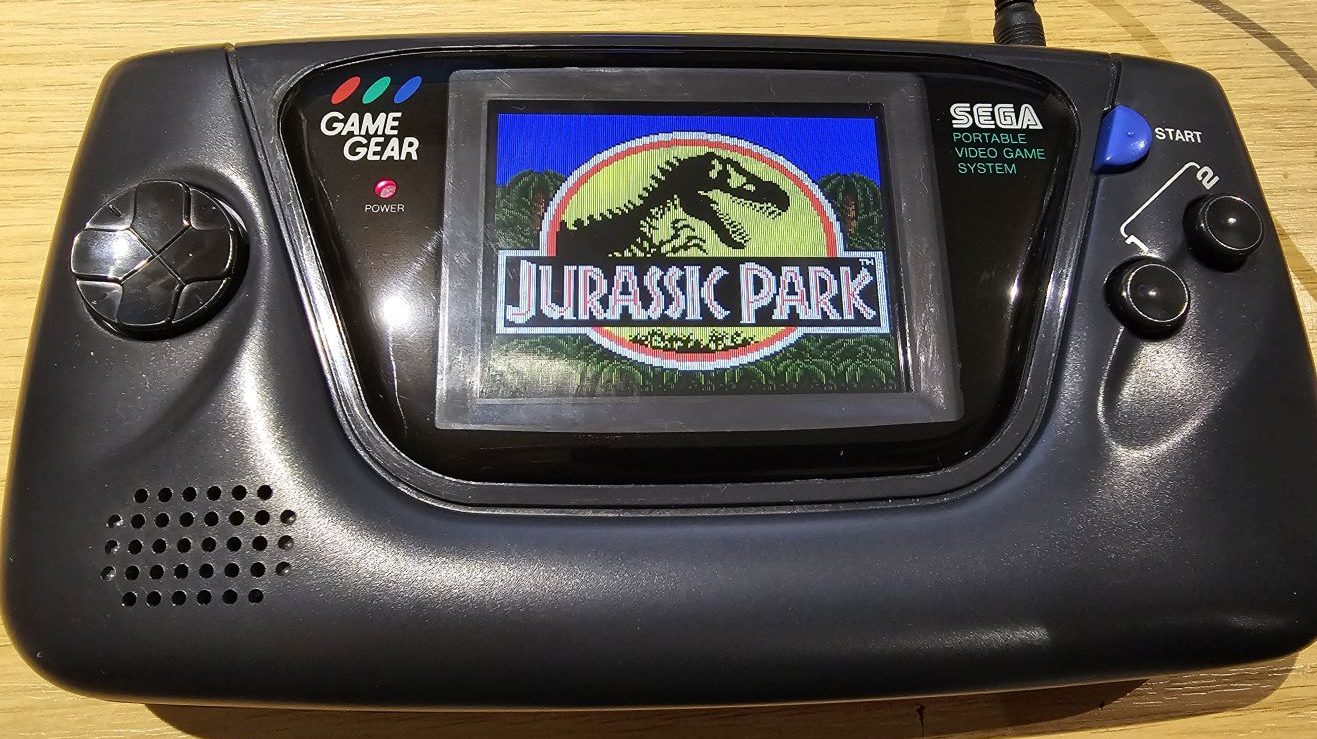
Before committing to attach the LCD display I roughly reassembled to test the installation. As you can see its working very well. The brightness is controllable via the contrast wheel also. Happy with this I did a final clean to the inside of the display plastic to remove any dust, then fixed the screen in place with the supplied adhesive gasket. This should also stop dust from getting between the display and the plastic lens.

|

|
Now reassembled I gave the original plastic lens a good clean and polish with PlastRX. The LCD kit came with a replacement glass lense, but I have no intention of using it. These cheap lenses are totally flat and have very poor logo print quality. PlastRX polish is great for removing fine scratches and leaves a very smooth finish.

|

|
So that’s all for now. I did contemplate installing a lithium battery mod, but the removal of the florescent tube and high-voltage components vastly improve battery life. I’ve seen users with similar screens reporting 9+ hours. That’s a great improvement from the original battery file of 3 hours or so.
I plan to use this game gear quote a bit, and its been great revisiting some of my favourite childhood games.
Neil – 8bitplus – 2023
Recent Comments