
Installing the “seb” Switchless region and video frequency modification to my Mega Drive (v1). Removing old switches. Installing Triple region bios on Mega CD, and combining this to function with the Switchless Mega Drive mod.
Switchless Mod
After successful completing a switchless mod (on a Mega Drive 2/Mega CD 2) for a customer I decided to revisit my own hardware to do the same. I had also discovered that the surface mounted caps on the Mega CD 1 can leak and cause problems, so I wanted to fix this on my Mega CD while I was at it.
The original Switchless modification was conceived by a talented developer know as Seb from NKZL.com wrote code that can be flashed to a PIC16f630 chip. Exactly the same type of 8-bit microcontroller that can be used to make the Super Nintendo SuperCIC chip modification. With this mod installed both region selection and 50/60hz selection can be done by pressing or holding the console reset button.
Long holding the button cycles through the regions, short hold switches video frequency. A quick press resets the console.
[PIC16f630 pinout]
Parts needed:
- (1x) PIC16f630 micro-controller, programmed with Seb’s switchless code.
- (1x) 100uf ceramic capacitor
- (1x) Multi coloured LED (three leg)
- (1x) 220 ohm resistor
- Selection of wire
Mega Drive Mod installation
")
|
Firstly I cleaned and dismantled my Mega Drive. Upon opening and removing the RF shield I uninstalled my original modification switches. These will not be needed now as all functions will be selected on the reset button when we’re finished. Unfortunately the drill holes I made long ago will be remain, but at least they are on the back and not very visible.
")
|
")
|
Now I programmed the PIC16f630 chip with the switchless code. This is very quick and easy on the Mini-Pro programmer. You only need the Hex file from the link above. Don’t flash anything else. The Hex in the programmer should show like my screenshot.

|
no images were found |
Then I mounted the pic on a suitable location on the motherboard next to the JP points. I bent the legs out and glued the chip to the board to make it easier to solder. These PICs are re-programmable, so you may want to mount it in a socket on a PCB, but that’s optional.
Now I linked the JP points for the video frequency and language selection to the PIC. These are the same points on the board that the old switches connected to. I also connected it to the 5v and ground.
")
|
")
|
")
|
Now to control the PIC with the reset button. A PCB trace needed cutting to isolate the button from the reset line to the CPU. Now one wire goes to the PIC from the button and another back to the reset point. Essentially this is the same for all switchless mods.
The last thing to do here is link tow more wires from the switchless PIC to the EXP connector on B25 and B27. This will link up with the MCD mod next. (optional, don’t bother if you don’t have a Mega CD)
Switchless Mega CD
Mega CD uses a BIOS to determine what region games can be played, in addition to what region Mega Drive system will be compatible. There are 3 Bios images, one for each main region. EUR, USA and JP. Each will boot the corresponding games for each region only. If you combine a PAL Mega Drive and and NTSC Sega CD, then it wont work and visa versa. The solution is to either use a Universal Region Free BIOS, or combine all three original bios images and switch between them. We decided to do the later as it leads to better compatibility.
I found the 3 BIOS images needed online, they are the same files you might use in an emulator. I then byte-swapped the BIN files using a program called SwapEdian. Get it here. Byte-swapping is needed, because it arranges the roms to be read successfully after burning to the EPROM chip. When swapped I combined them with the CMD command copy /b. The order of roms needed is US > JAP > EUR. Alternatively you may be able to find a ready-to burn BIOS images online. I burned my combined BIN to a 27c4002 EPCROM with my Mini-pro programmer.

|
no images were found |
You’ll need to remove the original BIOS chip and install a socket for the EPROM before going any further. Make sure to bend up legs 38 and 39 of the socket when installing, we need to attach a couple of wires here. I also replaced the original surface mount capacitors and cleaned the leaked fluid. You can change all the other caps too if you want.
")
|
")
|
The 2 bent up pins are the selection points for the different BIOS images on the EPROM. They need connecting to the switchless mod in the Mega Drive. From the Eprom, connect pins 38 and 39 to the 2 unused pins on the expansion edge connector, and join to corresponding points inside the coupling unit.
")
|
")
|
The EPROM should now be connected all the way back to the Mega Drive switchless mod, and if installed correctly to the PIC pins, should reboot and run the correct BIOS image.
If the EPROM was flashed with the BIOSs in the wrong order you will get warning screens regarding the PAL/NTSC selections. I used a Everdrive to diagnose what Settings worked. Under ToolBox > Device Info shows the region settings for the Mega Drive and Mega CD. They should match.
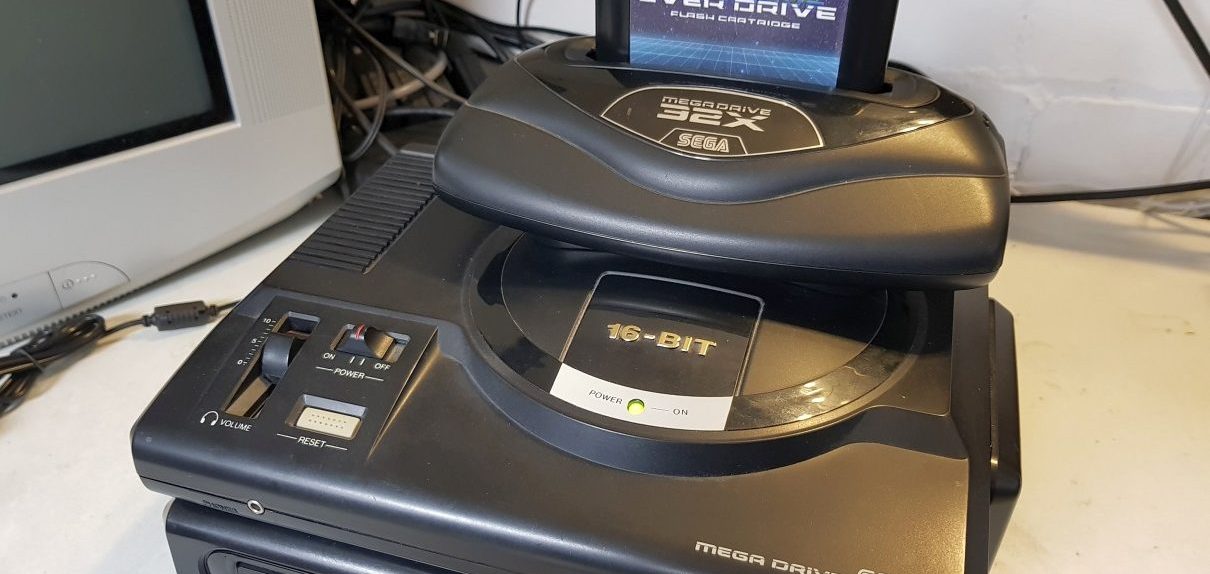
32X integration
Finally I wanted to get the 32X in on this switchless party. 32X only tests to see if the software is in the correct video mode. It also has to match the Mega Drive video frequency because they combine the video output.
when opening the 32X, and removing the top plate, the video chip is located on the Right hand side.
no images were found |

|
First remove the resistor at point R42/R43, and solder a wire between this resistor point and the pin of the mono audio input as shown. Cut the mono audio trace to stop our video mod being connected to the audio system.

|

|
Back on the Mega Drive. Now run a wire from the PIC16f630 video selection pin, to the underside of the board to the mono audio pin on the AV port. Making sure to cut the trace from the audio system. When this is done correctly, your Mega Drive will no longer output audio from its AV port. You will have to use a video cable that incorporates stereo audio. The original mono audio line is now used to switch the 32X video frequency. you will have to find a mixer cable to connect to the Mega Drive stereo jack or use some external speakers.
Testing

|
So now I have everything assembled again. switching is working perfectly from the Mega Drive reset button. I tested with a range of Mega CD games from each region, switching between the different bios images as needed. Pretty much all the PAL titles play perfectly in 60Hz if you start the system in PAL and switch to NTSC when the game boots.
If you need a switchles mod installing for Mega Drive, Master System, Saturn or SNES, please get in contact HERE.
Neil – 8bitplus – 2018
Recent Comments