
Upgrading a Sega Dreamcast to use an IDE hard drive. Installation of custom BIOS/Boot loader and Dreamshell.
Dreamcast IDE
I’ve been looking forward to getting some time to try this mod. Its been known for some time that the Dreamcast GD-Rom commands are similar to ATA calls on IDE drives. More recently IDE access support was added to Dreamshell, the Unix like operating system for Dreamcast. Once this was added the apps like ISO Loader could be updated to load game images from the HDD faster and with more comparability than widely used SD card to Serial method.
Hard Drive access is faster than SD cards attached to the serial port, and sometimes faster than the original GD-Rom drive.
Adding a HDD became much easier with the use of a G1-ATA adaptor. This little boards sits between the motherboard and the Gd-Rom drive and allows attachment of the IDE cable to a drive. The downsides to the G1-ATA is that it works best with the GD Drive removed. The extra height of the adaptor between the motherboard and drive consequently stops the console being reassembled afterwords. This is a fine solution though if your OK with removing the GD-Rom. For myself, that wasn’t an option as I still want the option to use Original games.

|

|
The next option is to install the IDE cable by soldering it directly to the motherboard. This is technical simple, but fiddly and risky if something goes wrong.
IDE Reborn
After some searching I found another solution. IDE Reborn. This is a well designed PCB that solders directly to the underside of the motherboard. It passes the signals from the GD-Rom port to an external IDE port. I found the installation very simple and only takes 5 minutes with a good soldering iron.
")
|
")
|
")
|
With the PCB installed I checked the continuity from the GD connector through to the IDE port with a multi meter. To reinstall the motherboard in the Dreamcast shell I also needed to cut a hole in the back for the IDE port. I also needed to modify the lower RF shield as the IDE PCB adds a little more thickness to the edge.
Setup
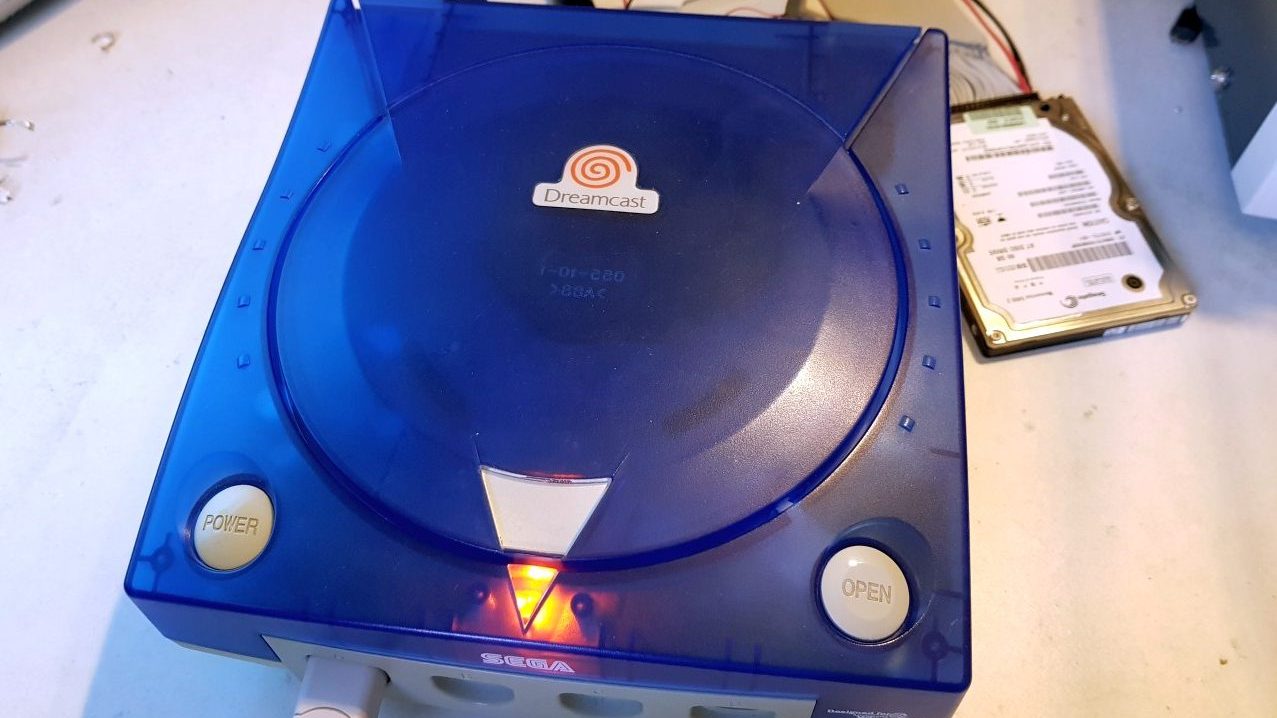
A selection of IDE devices can be used now with the Dreamcast. I went with a 60GB 2.5″ laptop Hard Drive. The 2.5″ drives can be powered off the Dreamcast without another power supply. 3.5″ drives need additional power. I formatted the drive as a single FAT32 partition (with 64kb clusters). If you are planning on keeping the GD-Rom attached, set the HDD to Slave.

|
To test everything was working I burned and booted the latest version of Dreamshell. During booting it recognised the ATA device and allowed me to browse the (as yet empty) IDE drive.
At this stage Dreamshell still needed a boot CD to get running, and I wanted it to work fully off the HDD. The next stage was to install a custom BIOS and boot loader.
Bios Upgrade
The Dreamcast bios, like most console bios systems is read only. Replacement of the Bios requires removal of the chip, then a flash chip installing in its place. In the case of Dreamcast a 29LV160 flashrom chip works perfectly. The chip would need to be programmed from a PC if you are replacing the original Sega bios, otherwise it will not boot with a blank chip. I decided to do a dual bios mod for my Dreamcast.
")
|
")
|
This involves leaving the original Sega Bios in place and “piggybacking” the flash chip on top. Selection of the Bios is done with a switch. This basically just switches the power between the chips.
Full instructions for this mod please see mmmonkey. He has a full step-by-step guide with plenty of detail.
With the new blank Bios in place, flashing can be performed from Dreamshell. The Dreamshell CD contains a few alternative Bios images. The one I used was the “boot_loader_devkit.bios”. This bios image contains the DevKit boot animation and loads straight to the Dreamshell boot leader.

|
no images were found |
If the Dreamshell files are detected on the IDE drive or SD card it loads them automatically. So now the Dreamcast loads quickly without and CD or GD in the drive. Perfect! I can always switch back to the original Bios in case anything goes wrong or to boot original games if needed.
Dreamshell Apps and Games

|
Lets have a look now at Dreamshell. Dreamshell is Unix based OS built on KallistiOS roots. It has the ability to run applications and uses various modules and scripts. It includes all the programs needed to flash the Bios, change region of the console, and of course load games.
ISO Loader
This is the main program to load game images. unlike other consoles than can (with modification) load games from a hard drive like the PS2 and Xbox, Dreamcast games are more complicated than just ISO images. The best format to get the games in is .GDI, and they need running through a optimisation script before uploading to the HDD.

|

|

|
When your game is copied to the Dreamcast, you have to select the correct boot parameters for each game. Options include how the data is accessed, with or without DMA and what location of memory the boot loader works from. I found a list here that helps get the right settings.
GD Player and Ripper
GD Player lets you boot disc games from Dreamshell. You can use this to boot any game and any region. Very useful and it also works with CDr’s as well as original GD-Roms. Make sure to install the latest version of Dreamshell to use this program. It can be found on GitHub.

|

|
GD Ripper Reads the content of Original GD to the HDD or SD card as ISO format. It can also copy CDR games as CDI images.
Issues
The only issue I’ve had with Dreamshell loading from a HDD is regarding the saving of game presets. Then the boot parameters for a game are selected, you can save the options as a preset. This should mean than when selecting the same game again should be quick and simple. Unfortunately There is a problem with this currently and the preset does not load the right settings when Dreamshell is booted from HDD. Options need to be selected each time. Its hoped the developer can resolve this at some point. The preset feature works fine from SD cards apparently.
Compatibility with Dreamshell is still not 100% for the whole Dreamcast games library. The developer is still working on this and is already supports more games than the SD card loader option.
UPDATE
I upgraded from the 60GB HDD to a Hitachi 160GB drive, and now the preset saving works. Nothing else changed with the software but this drive seems to be better compatibility. I’m even getting games working with DMA access that didn’t work before.
Other mods
There’s one extra modification I’d recommend to go with your HDD modified Dreamcast, a reset switch. Guide found here. You may have to reboot the DC occasionally if you select the wrong game options, and its not recommended to keep switching the on and off too often with a HDD.
Any questions? please ask below.
8bitplus 2017
Hey,
thx for the nice Tutorial.
I‘ve some questions about loading Games from HDD:
Some Games are not boot at my Dreamcast with IDE-Mod.
I only get a black Screen, Fallure btw Error Message.
Some Games are in the GDI Format with many Tracks,
so good like all Games in CDI and ISO Format are not work…
I look at ur Games-List and at your List I read the Games must work.
Now, I saw first for the parameters in Settings.
The other one…
I downloading your Programs to create a ISO from CDI.
But every ISO I‘m created, is 0 Kb and unuseal…
Thx and best Regards
Christian
Thanks, nice Tutorial!