
Amiga 600 preparations.
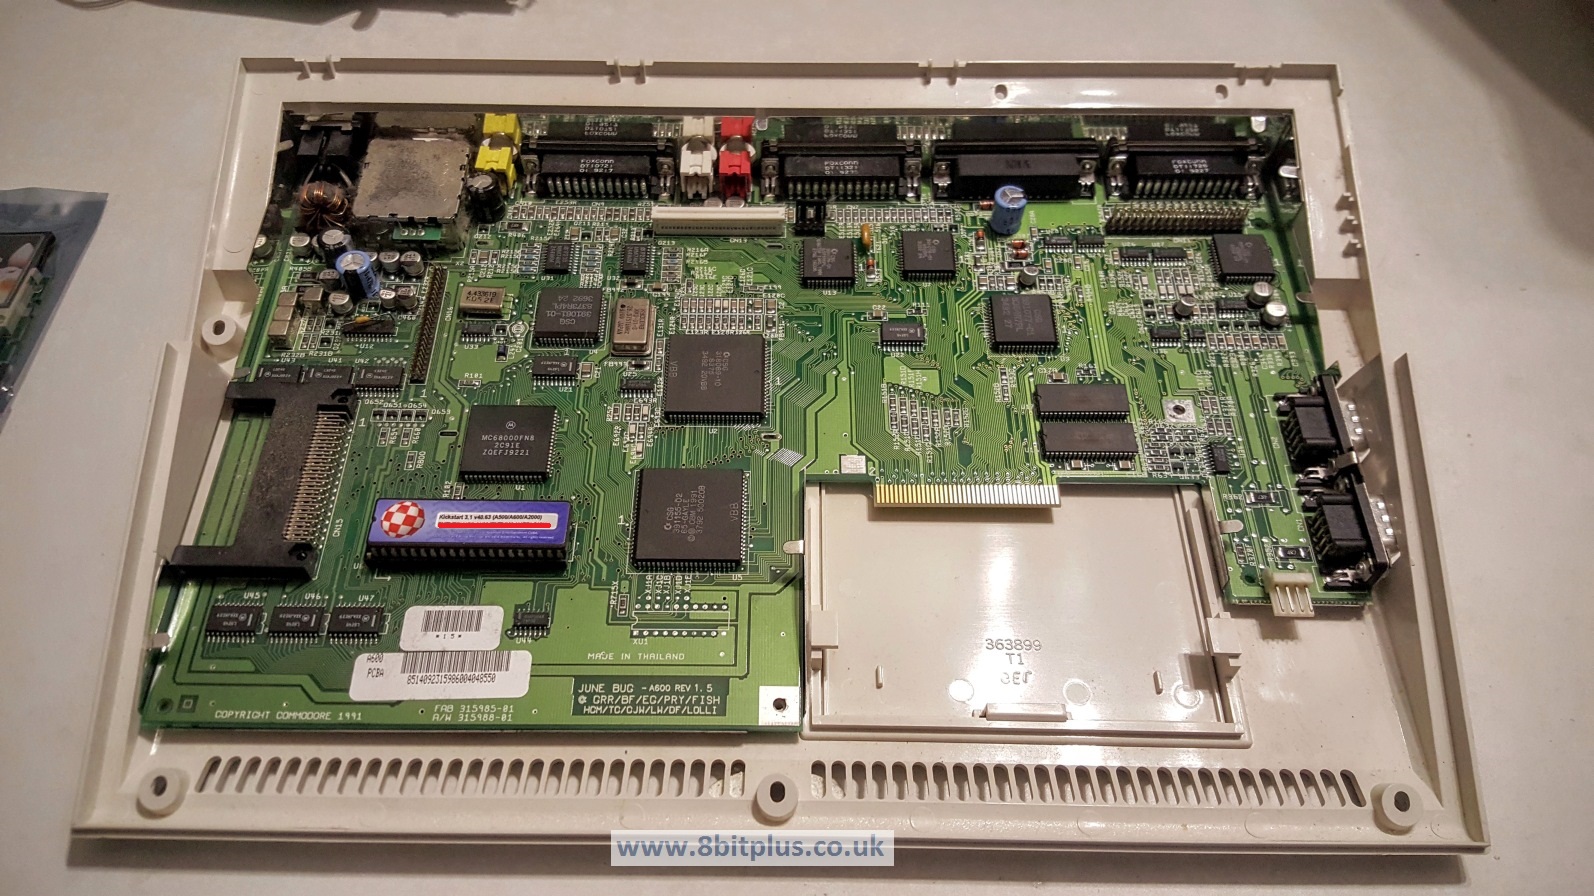
With My Vampire 600 card heading my way very soon, I’ve finished getting the Amiga 600 ready. Here is a rundown of the hardware changes I made. The first things I did after opening the Amiga was to clean and inspect the motherboard. Luckily this unit is a fine example and has clearly been looked after (so far). The motherboard was a little dusty and cleaned off we with compressed air. All the capacitors look to be in good order and don’t need replacing.
Kickstart 3.1
My A600 was completely stock, no HDD and Kickstart 2.05 chip. Kickstart was easily replaced with the 3.1 revision chip. This will allow for the installation of Workbench 3.1, 3.5 or 3.9 as I intend to do. Just remove the old chip and press the new one into place.

|
The Kickstart chip is like a BIOS for Amigas. Not only that, but Kickstart also contains key operating system components called Devices which communicate to the other hardware onboard.
Hard Drive
Next I installed a 4GB Compact flash card with an IDE adapter to use as a hard drive. Like the A1200, the IDE system is very old and slow, but for this purpose booting the initial OS its fine. I used 2 partitions 2GB for the OS and applications, 2GB for games files. The Vampire 600 also includes a SD card reader, so adding additional storage space my become easier in the future. Apollo team are working on speeding up the SD card transfer rate, so it may become faster than the IDE system.
For now I just installed workbench 3.1 with the standard Amiga Fast File System. Later I’ll reformat the card with Smart File System. SFS is much more reliable and suited to larger partitions than FFS was intended for. SFS needs at least a 68020 to install, so I cannot do it at this stage.

|
Memory, RTC, and clockport
Another little upgrade was to get a 604n, by Individual Computers. This card once installed in the expansion slot and provides an additional 1mb of RAM, RTC (real time clock) and an A1200 clock port for future expansions like sound and USB controllers. The extra 1mb of ram really helps with setting up workbench before the vampire arrives. When its installed this Amiga 600 will have 128mb of Fast Ram.

|

|
The A604n also allows the addition of the Indivision Scandoubler. I may concider getting ofof these if the Vampire still dosnt display native screenmodes later in its development.
Remove RF Port
Lastly (I should have done this first!) I went ahead and removed the RF modulator from the Motherboard. This isn’t a necessary step, but I wanted to make room for the HDMI port without cutting the case. Under the motherboard are a few points that need unsoldering, then the RF modulator is removed.
")
|
")
|
One of my goals with this Amiga 600 is to keep it looking as “stock” as possible. I’d like to make as fewer external changes as possible because I’ve seen so many Amiga’s cut up and sometimes ruined. I myself may have done this one or twice…..
Still to Do
This is still a work in progress project. The next stage is to install The Vampire 600 card when it arrives and setup the OS and software. I’ll cover this in depth in the next page. I’m also getting a USB controller card for this Amiga so I’ll make sure that gets a mention too.
Thanks for reading. Any questions on this? please get in touch with the form below.
8bitplus 2016.
Links
Kipper2k – Ordering and logistics.
Majsta – Hardware mastermind.
Apollo Team – Core and firmware development
Recent Comments