
A1200 Motherboard Repairs (part 4)
Still looking at the 1.D.1 board with the bad capacitors and missing IDE connection.
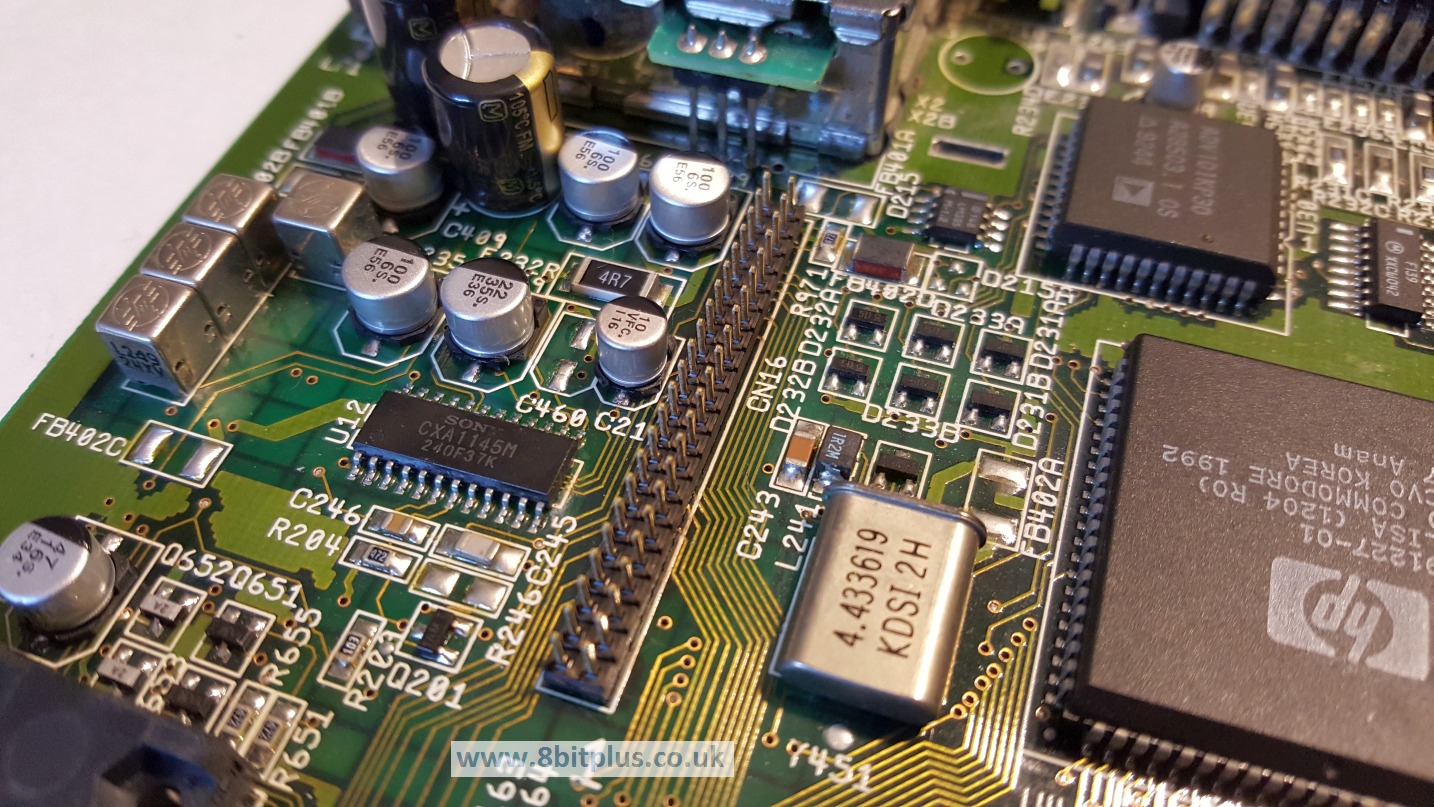
I managed to clean up the IDE connector as you can see below. A little flux and the solder pump did the job. I also removed and replaced all the original capacitors and replaced with new ones. The board cleaned up very well.

|

|
I sourced the replacement IDE connector from AmigaKit. Installation was very easy on a clean board. Just slot it in and apply a little liquid flux to the solder point. Then its just a matter of making sure not to apply too much solder. Results look good to me.
")
|
")
|
")
|
When I finished cleaning up the board, I connected a 4Gb CF hard drive and boot it up. Loaded Workbench first time.
")
|
Another board fully restored. So that only leaves the one with the video color problem…..

Recent Comments