
Project to build a Sega Rally style racing/driving arcade cabinet. Cabinet construction, components and setup information. DIY project, using a mix of PC and Arcade components. New and Used parts.
Ready, Go!
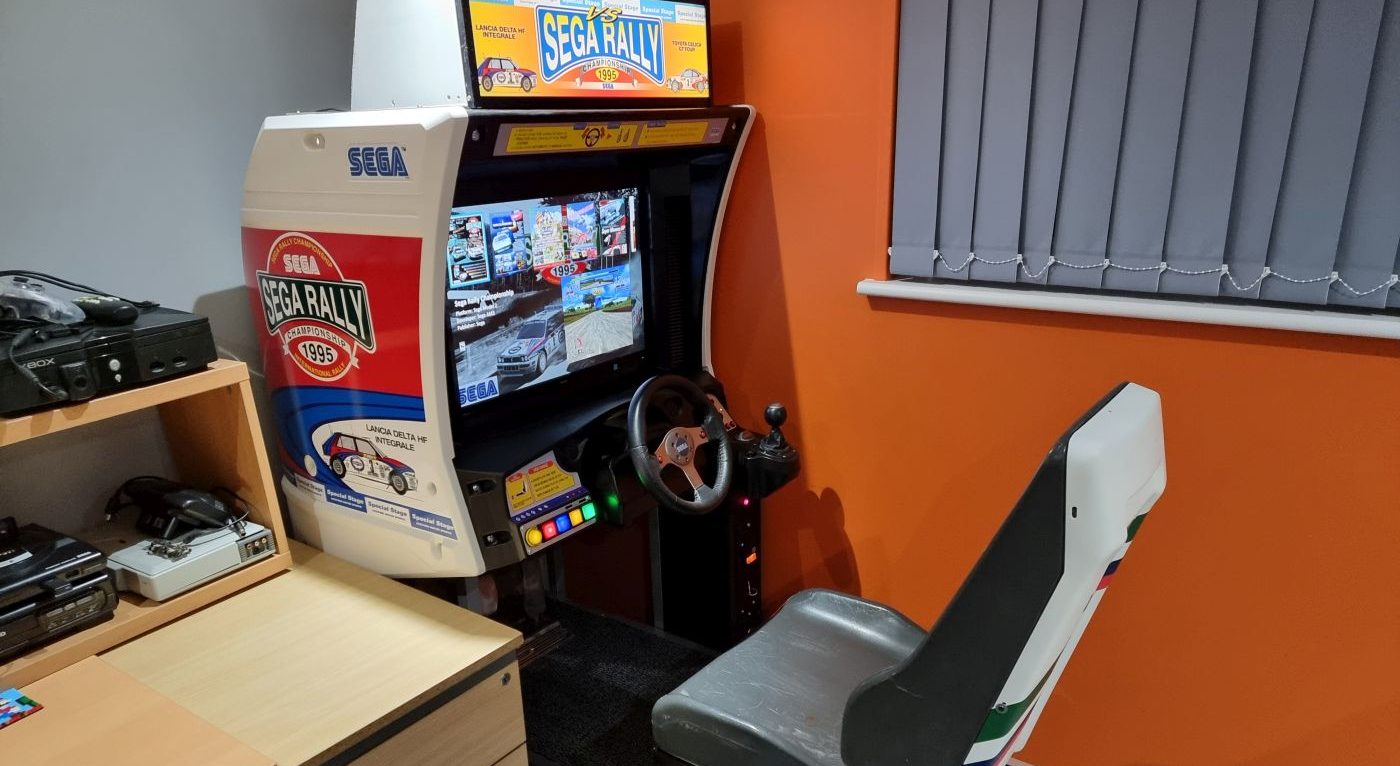
Who doesn’t like classic Sega arcade racing games? Dayton, Sega Rally, Initial D, Scud Race and many more. I wanted a way to enjoy arcade racing games in a more immersive and authentic way than just with playing on the PC with a control pad. The first logical conclusion was to buy a USB wheel and pedal set, however I though I could do better.
I now wanted to build a working sit down racing cabinet from scratch. After some research on Sega racing cabinets, I decided I make most of the construction myself. I couldn’t find or afford to buy a real genuine Sega racing cabinet to start the project, so it was to be a DIY setup. Seats, dashboard, sides etc were to be from real arcade machines where possible.
 |
 |
 |
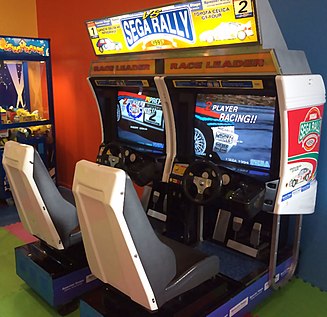
Something along these lines is what I wanted to build, but I only have space for a single player cabinet. Making a dual cabinet work have been great though. I also got a log of inspiration from this thread where someone converted a real cabinet to play games from a PC.
Sega Racing Cabinet. Starting construction
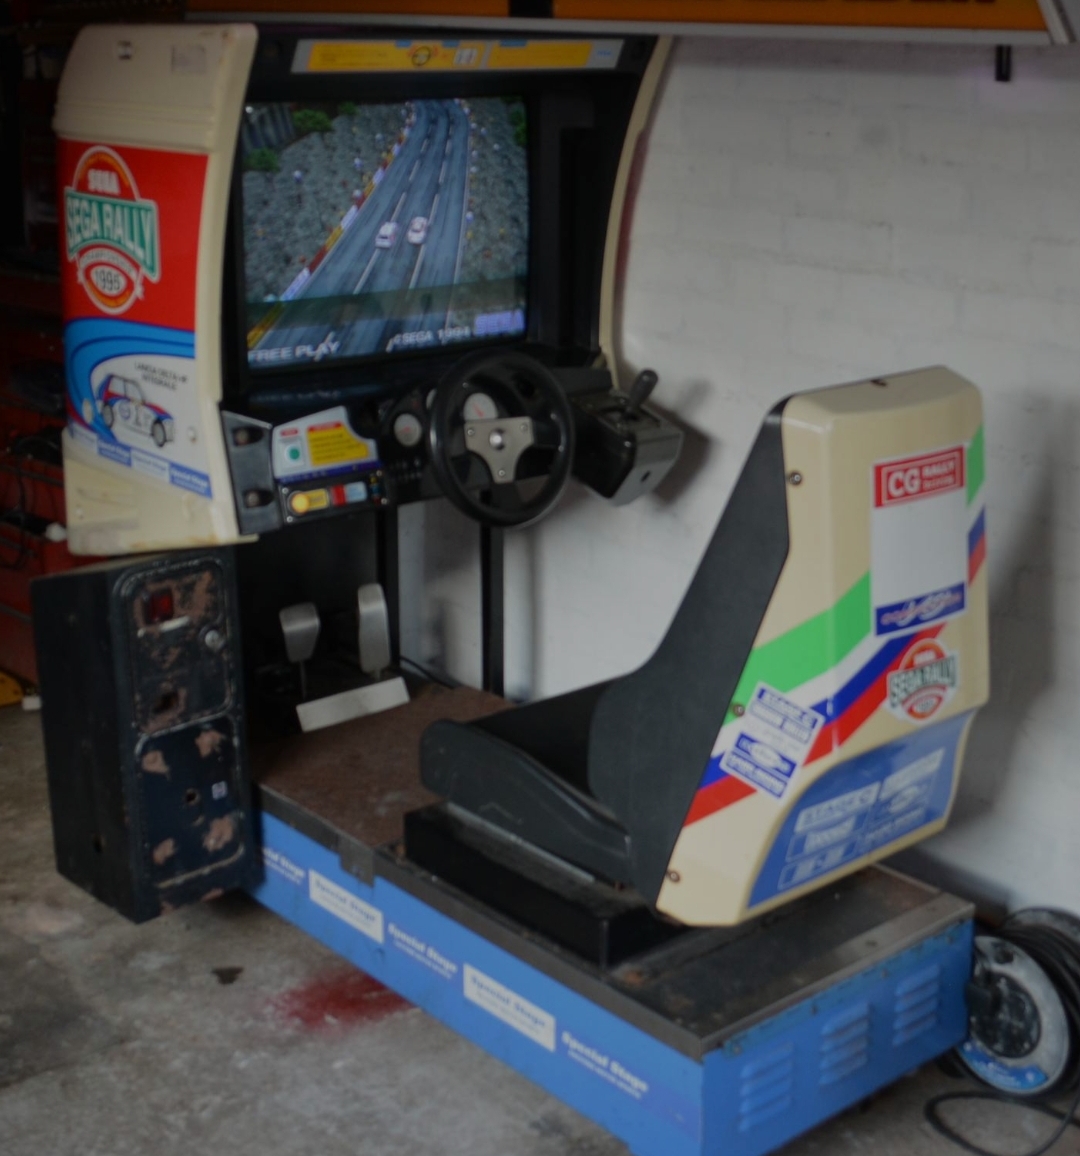
First I studied Saga arcade manuals and photos of the original Sega racing cabinet I wanted to base my project on. Most importantly I wanted it to look like a Model2/Model3 arcade machine and feature Sega Rally art and graphics. I found a dimensional guide online to help me start building the base.
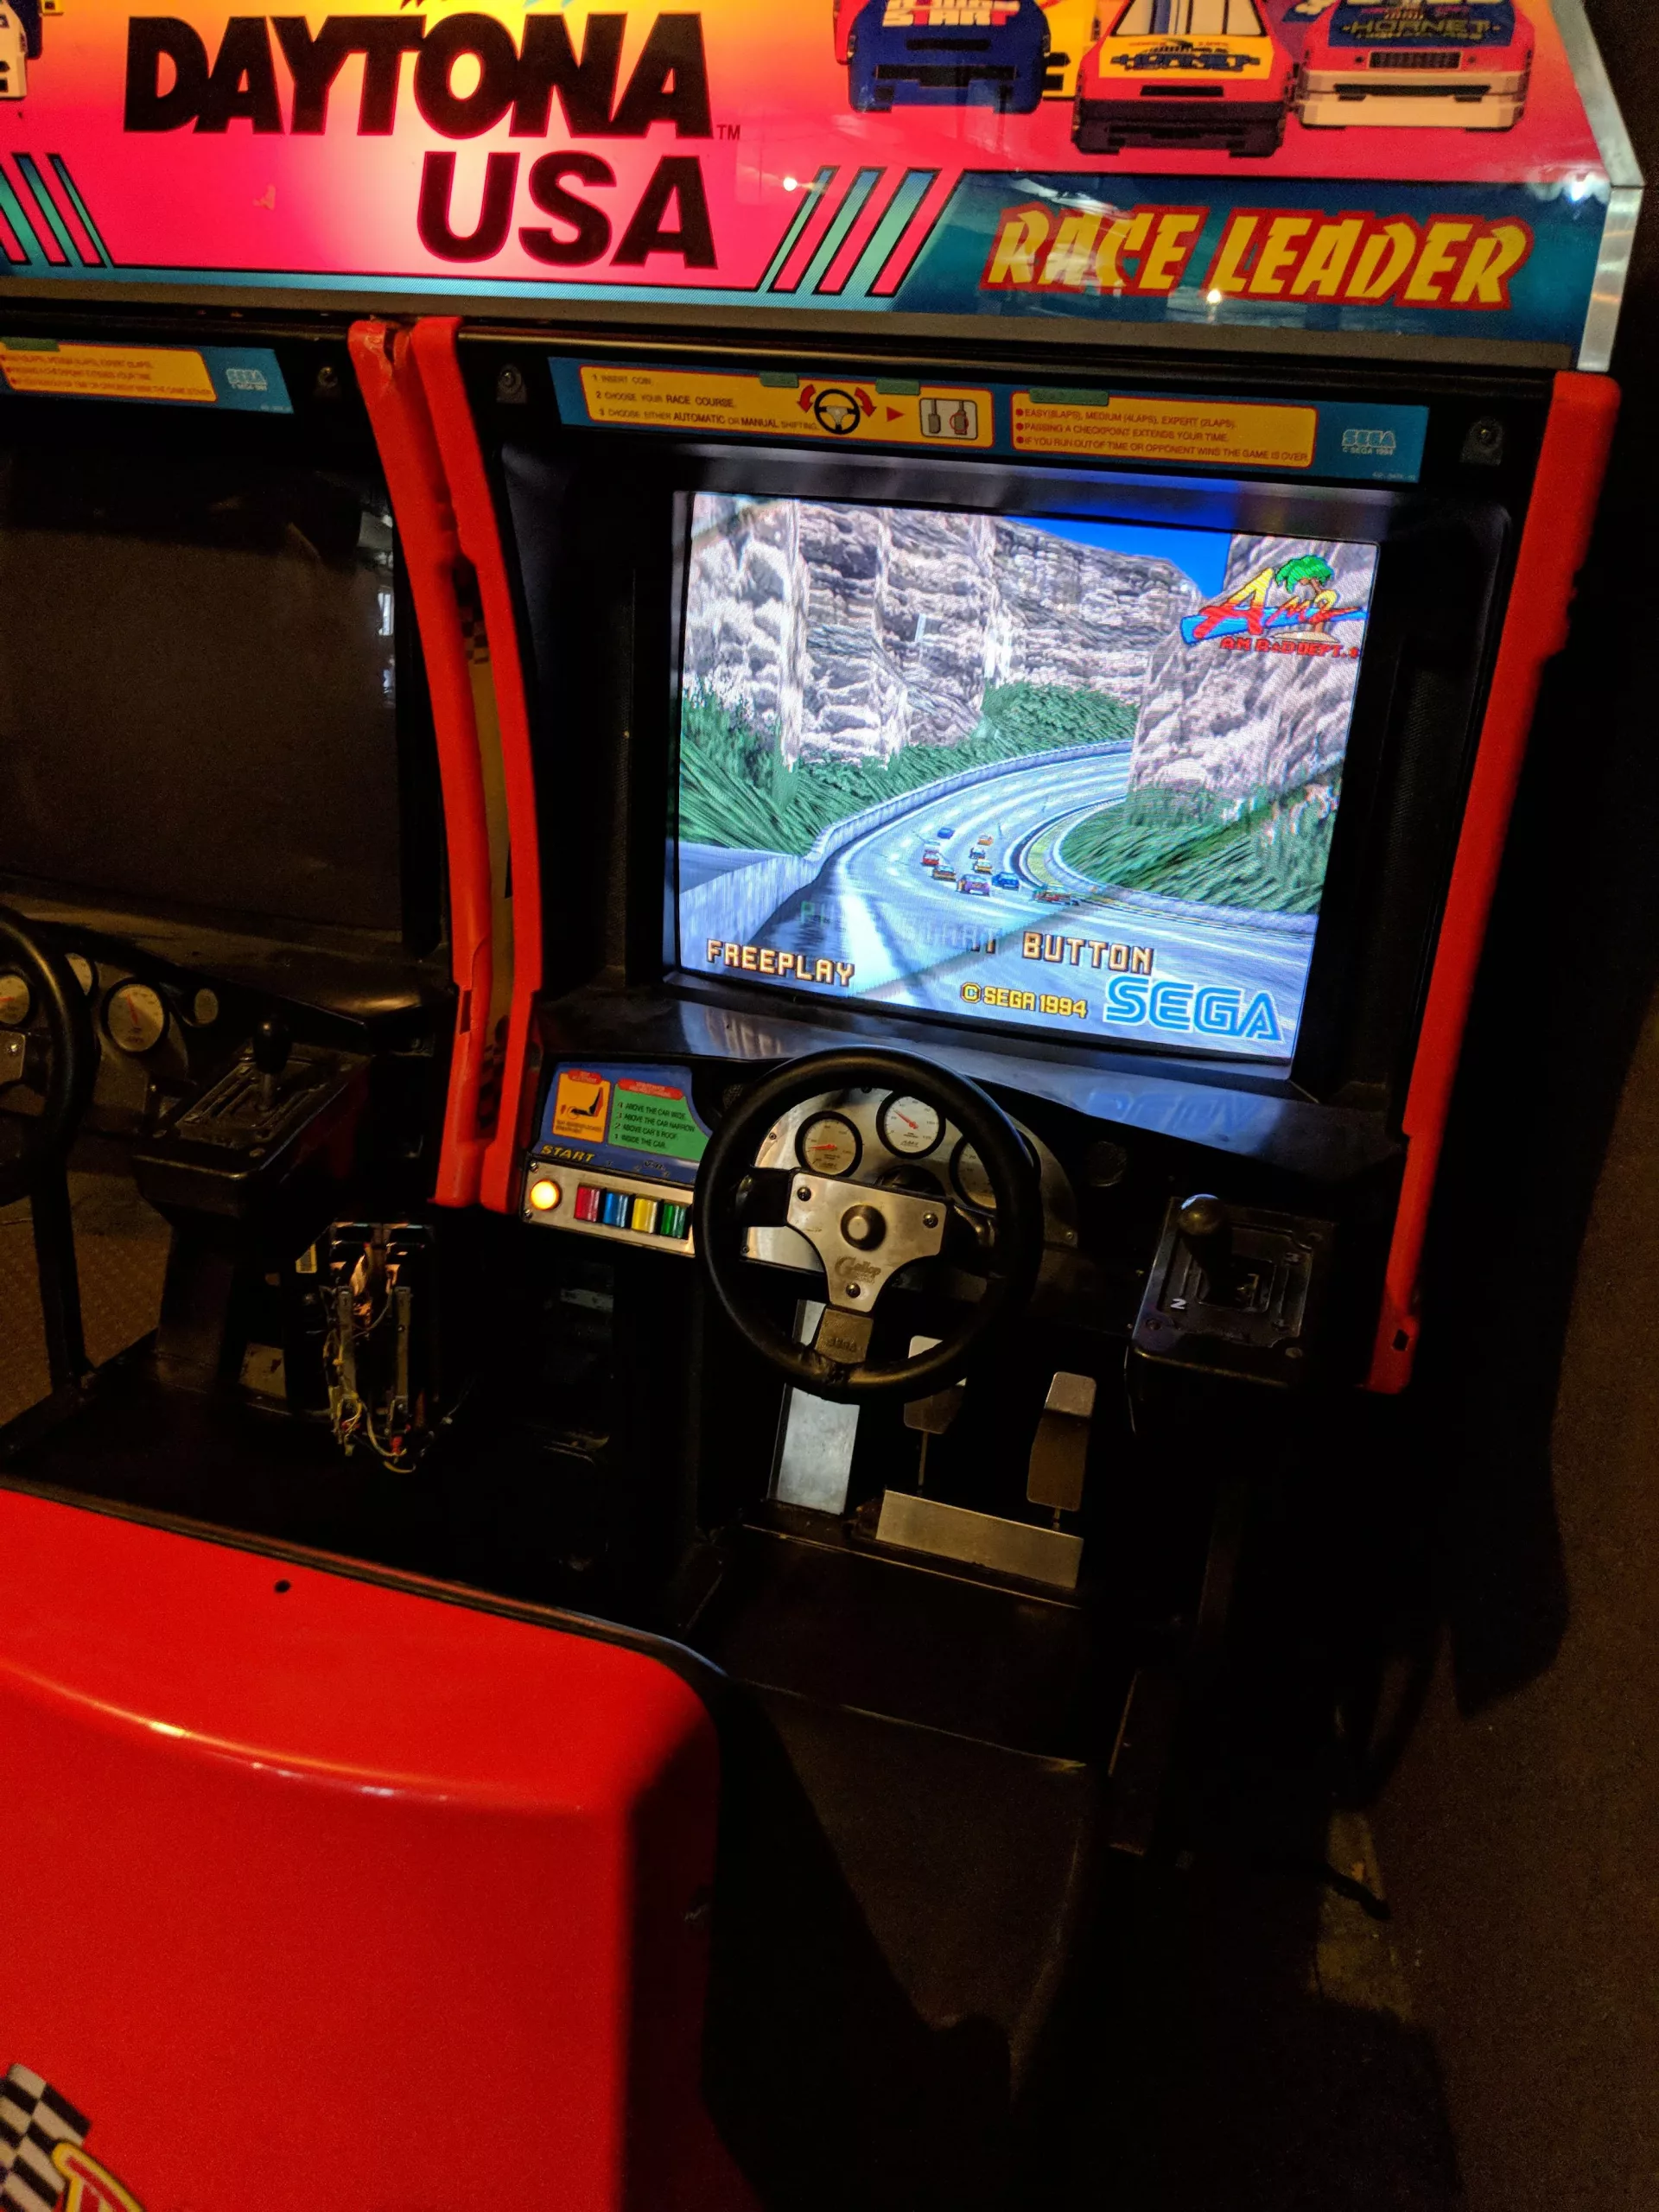
The very first components I got for this project was the seat originally from a Daytona cabinet, and a reproduction dashboard. These dashboards suit a verity of cabinets. I also found a very good working Logitech G25 steering wheel set. These PC wheels feature force feedback and rumble and support most of the emulators I plan to use.

|

|
Now I can start putting together the base and really start making progress.

|

|

|
The base was constructed out of 2 lengths of smooth finish timber and cut according to the dimensions I’d seen online. The base floor and tops were made of interlocking loft flooring left over from my workshop floor. All the corners are held in place with metal brackets and extra wooden battens to secure sides to the flooring. All screw holes are countersunk so I can fill over them later. Underneath I attached six heavy duty caster wheels so the whole cabinet can be moved with ease.
Seat placement and runners
The seat came with two bearing runners which should allow the seat to be moved forward or backwards a few inches. Both runners were ceased and needed oil to get moving again. I then worked out the seat placement and cut a lid board for the seat to attach too. The lid and seat will be hinged like the original Sega racing cabinet to access the space inside.

|

|

|
In addition constructed a raiser for the seat to sit on like the original cabinets. This holds the metal place that the runner latch locks into when the seat is moved.
Controls and dashboard
With a seat in place I could now work out the best position and height for the wheel. This was hard to work out from pictures, and with this taking place in lockdown I couldn’t go out to any arcade to study the real cabinet So it was trial and error to get it feeling right.

|

|

|
The support legs are actually from an old office desk. Perhaps not ideal visually, however they have a good section for bolting to the wooden side. On the inside I used very large washers so the bolts didn’t get pulled through the wood when tightening. Next I cut a wooden board to old the wheel and shifter. After I was happy with the height and position it was bracketed to the metal legs. With a steering wheel placed I could work out how to attach the dashboard. I needed to cut away an area of the plastic dash to allow the wheel through. I toyed with the idea of extending the steering wheel shaft, but decided it might results in a wobbly wheel.
Bezel and Monitor
Now for another large component, the monitor surround plastic bezel. This I got from eBay and was from a Sega Rally cabinet I think. It was very hard to hold in place while working out its placement above the dashboard. I constructed a wooden frame to hold it in place for now. Adjustments were also being made to the dash angle and other component placements as I went along.

|

|

|
For the display I spent quite a long time deciding what to use. It would have been amazing to install a real arcade 29″ arcade CRT, but these are very expensive now and would make the project more complicated. I decided to go with a new LCD display. After researching displays, I settled on a Philips 252B9 25″ with 16:10 aspect ratio. This fits in the available gap nicely without cutting the bezel. Moreover with it being 16:10, the image can fill the screen without looking quite so stretched as a 16:9. I really wish large 4:3 displays were a thing.. Oh well this works nicely. To start with it will stand on the platform, but later mount in place on a VESA mount. A black plastic mask was be made later to fill the gap between the screen and bezel.
Base finish
At this point I back tracked a bit and dismantled everything down to the base again. I filled and sanded all the screw holes, and covered all the exposed wood in a thick vinyl wrap. This was as close to original colour as I could get to the Sega Rally design. I then covered the whole top in carpet. Actually this is a long doormat scrip and gives a great finish very reminiscent of real car carpet. Spray glue was used to hold it down.

|

|

|
The top edges are finished in aluminium edging strips. Lid hinges were also installed at this point. I then reinstalled the rest of the components.

|

|
To prevent overheating, I installed fans in the base. These will be powered from the computer when installed. I found a very nice vent cover on eBay that matched well with the trim.
PC installation and testing

|

|
From this point I was really able to really start testing the cabinet with games. To start with I used my main PC externally, but I was soon ready to install the dedicated computer in the cabinet. For the dedicated PC I went with mostly used parts. Intel i5 7500, 8Gb DDR4 2400mhz, Gigabyte H100M-S2H motherboard and a Nvidia Quadro K2200. I needed an Nvidia graphics card for the TechnoParrot Arcade framework/emulator, but it didn’t need to be anything special. I already had the old Quadro card anyway. All this installed in a very bare metal stripped down chassis and fitted perfectly into the base. The PC has a nice industrial look now.
Coin Tower

|
I wanted to use a real coin meter to get credit in the games, for a real arcade feel. On the original Sega racing cabinets the tower is on the right of the player (or between two cabinets). For my build I wanted to have it on the left near the wall and under the gear stick. I constructed a thin box to hold the credit mechanism, and a opening hatch to retrieve the coins. This was also a great place for the PC power button. I used an illuminated push switch. The box was sanded and painted black.
Pedals
The Logitech wheel came with a set of pedals, and these worked perfectly fine, but didn’t really look the part. I found a set of Sega arcade pedals that matched my intended design from a local arcade supplier. They were complete, but needed lots of work. To start with I fully dismantled the pedal assembly and soaked every spring, washer, screw and bolt in degreaser and how water. The base plate seems to be aluminium, I cleaned this with water first then used a drill wire brush head to remove the built up dirt and oxidization.

|

|
When it came to reassembly I found that the tooth gear on the accelerator was warn down and not making contact with the potentiometer gear. A common problem from what I read. The pot shaft was also loose not helping the problem. I needed to change the potentiometers anyway from 5k to 10k to make them work with the Logitech wheel controller.

|

|
When the new potentiometer arrived I managed to resolve the worn tooth issue by re-cutting and shaping the teeth with a miniature file. Then I over bored the screw holes to allow it to fit closer to the cog. This was certainly a big improvement and should keep working for now. With that issue solved, I continued to make a custom cable to connect the pedals to the steering wheel. I copied the wiring from the original pedal cable, but diagrams are online here.

|

|

|
VR – View buttons
The dashboard has a place to install a button panel. This I also made cheaper by making a metal plate and installing illuminated pushbuttons from eBay. The buttons are connected to a Ultimarc I-PAC keyboard emulator. the buttons are assigned in the game emulators.

|

|
The LEDs are also controlled with an Ultimarc PAC-Drive.
Side Panel;
One of the most distinctive parts of the Sega driving cabinets are the large plastic side panels. I wasn’t sure from the start if I was going to find real ones, or if I was to make wooden panels to frame the cabinet. Luckily I found a matching white pair on eBay with no artwork. The seller hadn’t listed them with postage, but was happy to arrange at the extra cost, They arrived a few days later without incident. Both needed cleaning and repainting, but for now I just wanted to get them mounted in place.

|

|
Mounting the sides was very hard work. Although they are made from plastic, they are very heavy. I also discovered that my dash and bezel placement need adjusting, but eventually I got everything lined up. The sides are held on at multiple points with brackets and screw bolts. The panels have not been altered in any way to fit. They could be taken off at any time and mounted on an original cabinet.
Painting
Knowing how to mount the sides, I then set about getting them painted and looking as good as possible. As you can see both panels had scuffs and some UV light discolouring. I washed and cleaned each, and sanded them down with wet & dry to ready the surface for paint.

|

|

|
First I applied a coat of white primer. Then a couple of coats of matt white spray. After the final spray was complete, I then gave it another sanding with a very fine wet & dry paper to leave a smooth finish. Ready for the side artwork.

|
Seat back and decals;
The seat came with a black plastic panel with Daytona graphics. I removed the decals and sanded the plastic with wet & dry to remove scratches. Next I sprayed with plastic primer, then two coats of white paint. When dried I went over everything again with wet & dry to give the pain a smooth finish. Finally a coat of sealant and another sanding.

|

|

|
The seat artwork was printed myself on inkjet printable vinyl adhesive sheets in sections. I also printed decals to go round the base. All looking very good I think.

|

|

|
Marquee
This cabinet wouldn’t look right without an illuminated marquee would it? I got one printed on from https://www.arcadeartshop.com/. To hold this I made a simple wooden box with a sloped back. The marquee is help in place with plastic corner strips. This box will be painted white later. For the light I used a 12v warm while LED strip for kitchen unit lighting. As its just 12v I connected this directly to the computer power supply. Marquee now lights up when the computer is started.

|

|
Side art
Another job for Arcadeartshop.com. The prints arrived a couple of weeks after placing the order and looked amazing. I also got the smaller Sega logos to fit in the recessed areas in the plastic sides. Strictly this wouldn’t be featured on original Sega Rally cabinets, but I just liked the way it looks.

|

|

|
Installation of the artwork was very easy. Simply lining up the cut out bolt holes ensures the vinyl is aligned. I peeled back about 3 inches of the backing paper, then placed that part first. Next I peeled back the rest of the backing paper while smoothing down the vinyl to prevent air bubbles. The thickness of the vinyl also helps make the application easy.

|

|

|
Audio
For the sound system, I ordered a cheap 2.1 generic amplifier from eBay. It nothing fancy but does the job well enough. My local arcade part suppliers had a set of original speakers that mounted on the insides of the plastic side panels. A subwoofer is sat behind the screen. I may relocate this under the seat at some point. The amplifier is placed under the seat giving quick access to the volume controls. One problem I found was that sometimes I’d forget to switch off the amplifier. A great solution to this was a Master>Slave power socket adapter. When the PC is powered on from the master port, the slave port with the amp switched on too.
Software
I’m using a mix of emulators on this cabinet. Super Model (Model3), Model 2 Emulator, MAME, TechnoParrot, DEmul. To make them all work seamlessly I used the Launchbox frontend. BigBox starts automatically when Windows boots. Selection of the games is done with the VR buttons and Start. I’ve got about 30 games ready to play.
Finish line

|

|

|

|
Well I think that’s exactly what I set out to build. Everything looks perfect to me and gives a very solid arcade experience just like the real Sega cabinets. Its not been a cheap project, but its been very enjoyable to construct and kept me sane during lockdown. Now I just need to get better at the games to get pole position.
Let me know what you think of this project and leave a comment below.

Neil – 8bitplus – 2021
Recent Comments