
Information about the Dreamcast DCHDMI mod from Black Dog Technology. My installation work for a customer and test screenshots of the final image quality.
DCHDMI for Sega Dreamcast
Retro game enthusiasts have always wanted to get the best possible image quality out of their favourite consoles, this will never change. Some people like me love to have a CRT TV on hand for perfect RGB goodness, others use their HD TV or PC monitor for playing these systems. For them the best route for AV perfection would be in the hands of a HD upscaler device. These gadgets take the analogy RGB image information and sync, then process the signals to form a digitally interpreted output for modern displays. Devices like the XRGB and OSSC do this very well, but can be expensive, and although not perceptually hard to setup, might not be for everyone tastes.

|
The Dreamcast has always had a good advantage for HD display usage, in that it can officially output VGA with the use of an accessory box or mod. not all games supported this though. VGA is still analogy and not supported on many TV’s now. HDMI is the way forward.
Along came Black Dog Technology in 2019 with their DCHDMI mod kit. This adds an RGB to HDMI converter directly into the console. DCHDMI focuses on the VGA mode to give the best possible output as well as supporting RGB modes. All features are accessible with an on screen menu and controlled through the controller.
Installation
I’m not going to do a step-by-step for the install. The manufacturers web page has one already.
A customer contacted me for an installation of his brand new DCHDMI. A few days later I had it and a very clean PAL Dreamcast on my workbench.

|

|
The device its self looks very well made and is built around an Intel Cyclone 10 FPGA. Other interesting points are the mini-HDMI port and the integrated WiFi link. Once the Dreamcast was completely disassembled I could start installation.

|

|
Firstly the lower case needs a few adjustments to the lower metal plate and case, then a hole needs cutting for the mini-HDMI socket. A template block was provided to make this as precise as possible. The DCHDMI is attached to the lower case with 2 m2 bolts to prevent any movement.

|

|

|
Next the provided ribbon cable needs installing on the top of motherboard. Some components needed removing first. The solders on the audio and video controllers are very small and solder bridges can happen. The ribbon cable can also be damages if not handled with care.

|

|
Before the console is reassembled, another 3 wires need to be installed from the motherboard to the DCHDMI these allow controller input and reset signals. Now the ribbon can be connected and the console reassembled. Note there are some tiny dip switches that need setting for UDB-Gdrom or GDEmu owners.
Testing and screenshots
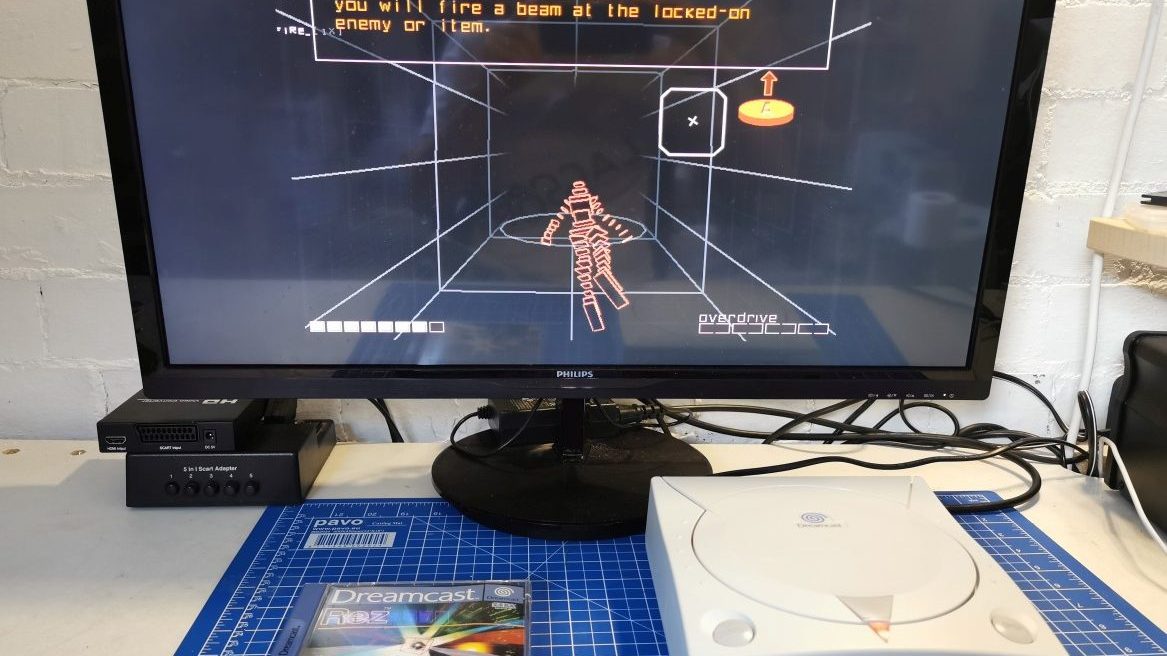
With the console reassembled and my desk cleared, I connect the Dreamcast to my 28″ HDMI monitor with an adapter.

|

|

|
Everything worked perfectly and I was seeing the boot logs and dashboard within a few seconds. Initially the image looked a little soft and slightly interlaced. Solution was to enable the force VGA mode, after which the image was much sharper.
Here are some screenshots from various games

|

|

|

|

|

|

|

|

|
Altogether I’ve been very impressed with the DCHDMI and look forward to doing more installs of this mod in the future.
If you have ordered a DCHDMI and require an installation quote, please get in contact here.
8bitplus – 2019
This is not my Dreamcast in the pictures but Neil fitted a dchdmi, dream pico and rechargeable battery. Very happy with the mods, the picture quality is amazing and the dreamcast runs a lot cooler. Thanks again Neil